|
Spitfire
|
 |
« on: February 26, 2015, 01:37:27 PM » |
|
Well this is my second kit for 2015, it has been in the loft for a couple of years but I feel it is time to get it built, I also have the Montex version which hopefully will also be built in 2015, this one will be built in a grey/grey scheme. This is what you get in the box. 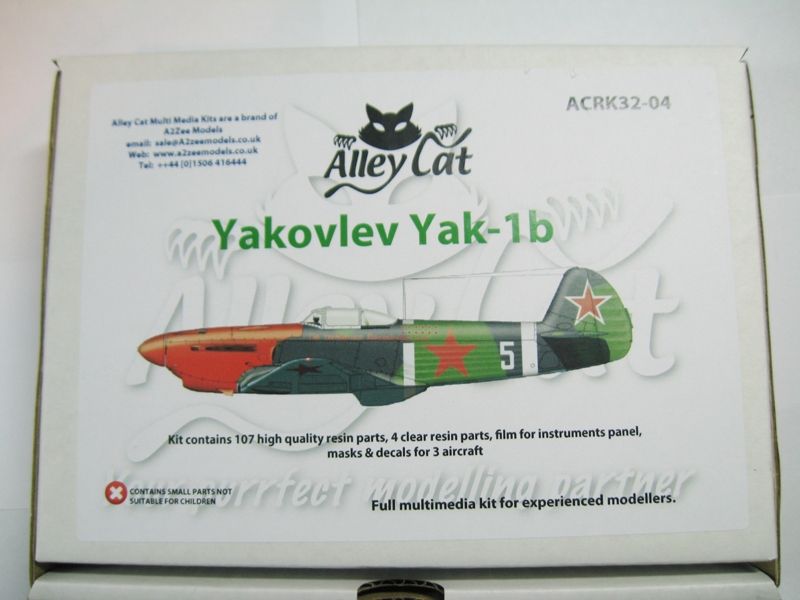 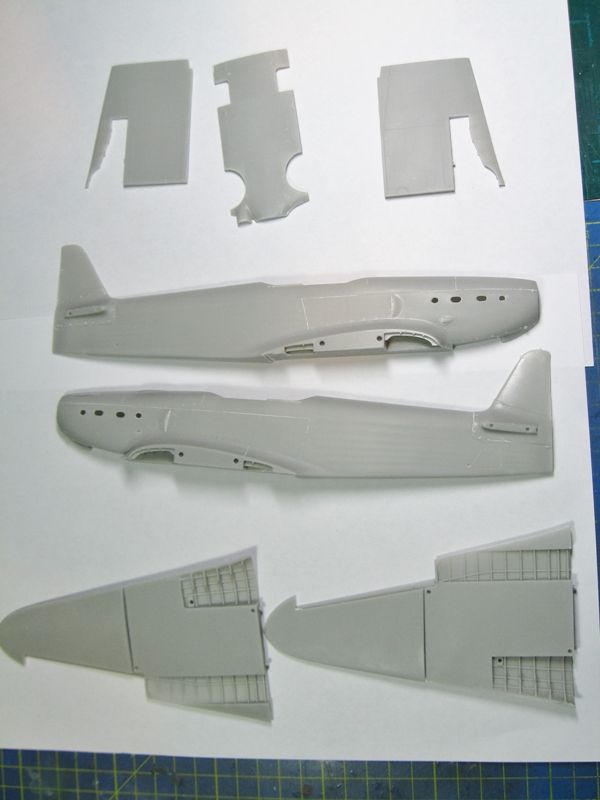  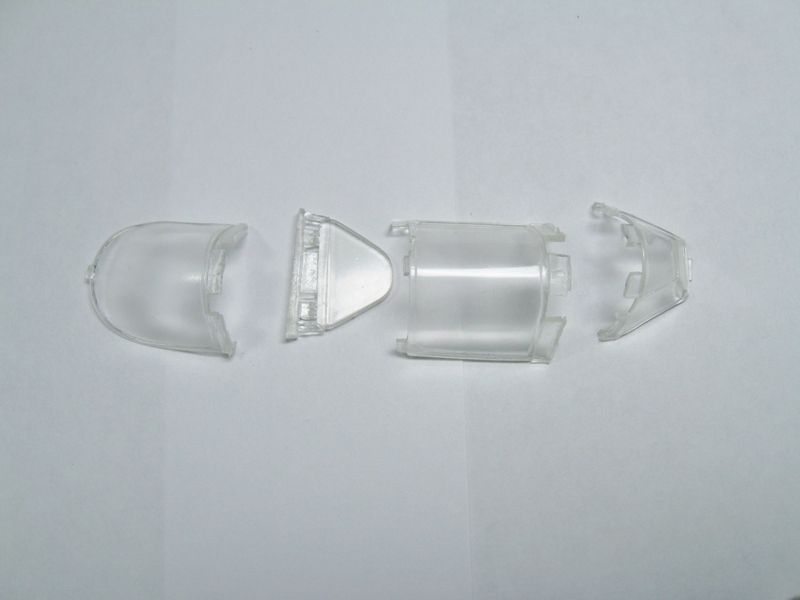 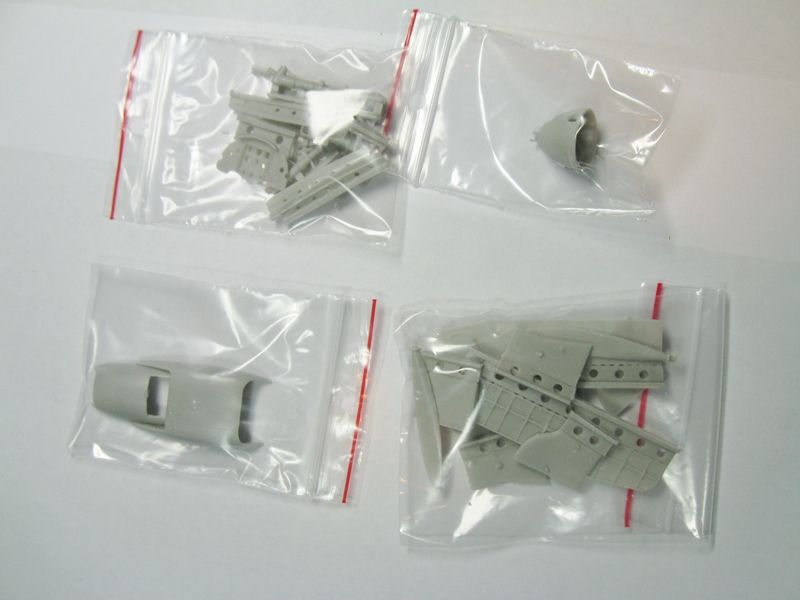 To be continued Cheers Dennis |
|
|
|
|
 Logged
|
|
|
|
|
Spitfire
|
|
« Reply #1 on: February 26, 2015, 01:40:20 PM » |
|
|
|
|
|
|
Logged
|
|
|
|
|
Spitfire
|
|
« Reply #2 on: February 26, 2015, 01:51:31 PM » |
|
And this will be my subject (so far) 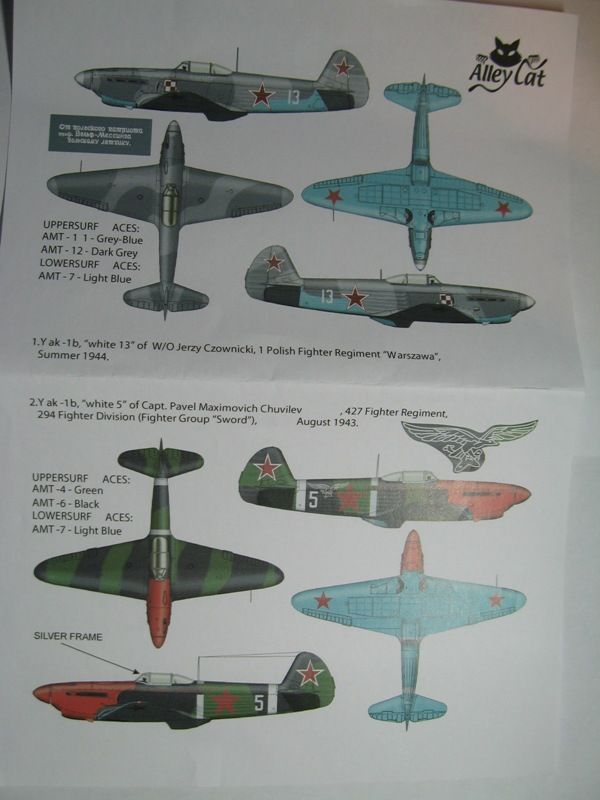 The first thing that I do with a resin kit is to give all the parts a thorough wash in warm soapy water using a sieve so that I do not lose any of the small parts, I do this because I once had a problem with paint not sticking on some resin detail parts.  And laid out to dry  Disappointingly I could not find any dedicated English language books on the Yak-1b, the nearest I could find was this one 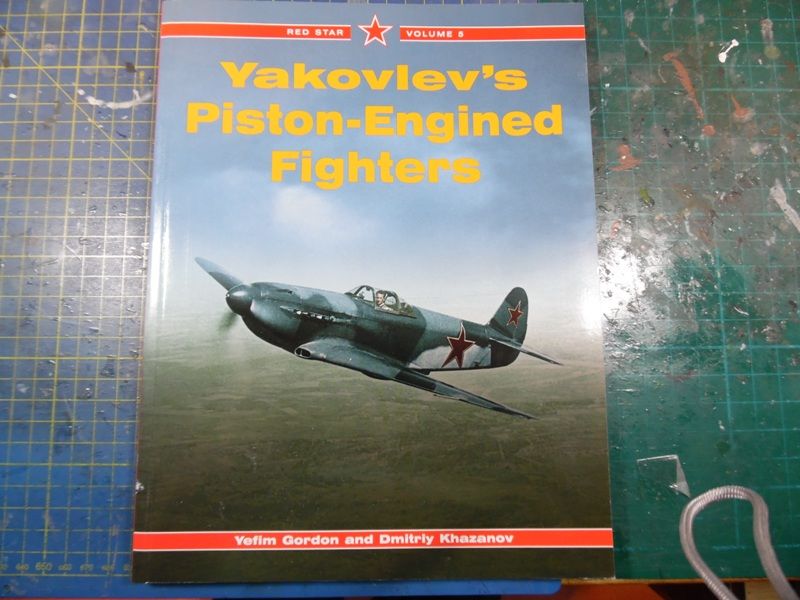 But with some help from you guys I will carry on. Initially I followed the kit instructions and painted the cockpit blue but looking at the walk around photographs of the one and only "preserved" airframe, plus some advice from Massimo I went for a grey (A-14) cockpit, for this I used Humbrol 140 which looks to be a fair match for the AKAN A-14. 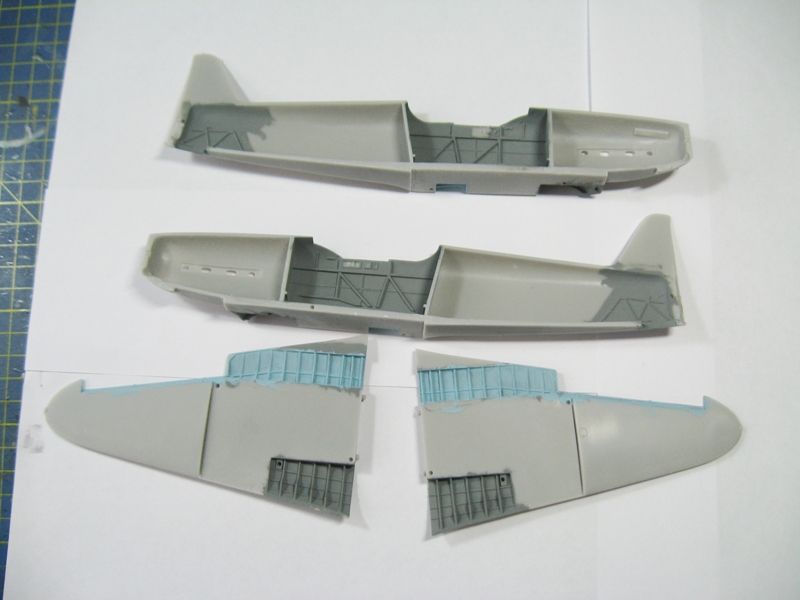 Cheers Dennis |
|
|
|
|
Logged
|
|
|
|
|
Spitfire
|
|
« Reply #3 on: February 26, 2015, 02:05:08 PM » |
|
More 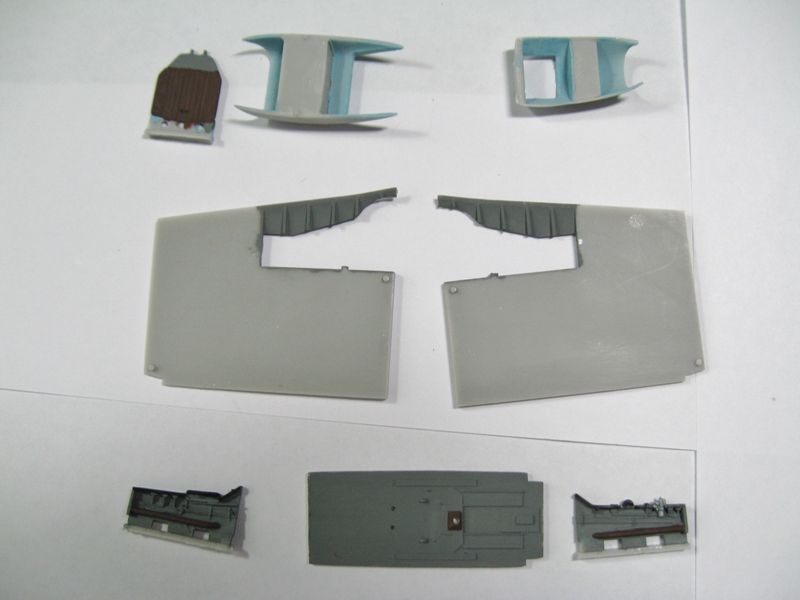 The kit cockpit seems to be very small after working on the MiG-3, but then again the subject is a small aircraft. The kit cockpit comes with lots of small levers with round ends, but mine were not very well formed, my attempts to make rounded ends from white glue and CA were rather pathetic, so in the end I used very fine plastic rod and held it close to a flame, this produced a round mushroom affect that when viewed from above will look fine. The seat belts were fashioned from an Eduard PE RAF Sutton harness, which looks a bit like the seat belts in the Saratov example. The instrument panel is made of resin and comes with a film to attach onto the back with all the instrument dials printed on it, I painted the back of the film white and did a test fit but was not impressed. So I fitted some plastic sheet on the back of the panel and used some MDC and Airscale decals for the instruments and placards, these were a mix of RAF, Luftwaffe and US dials as there are no 1/32 scale Soviet ones available. Once this was completed I set about cleaning up, test fitting and painting a lot of the resin parts. 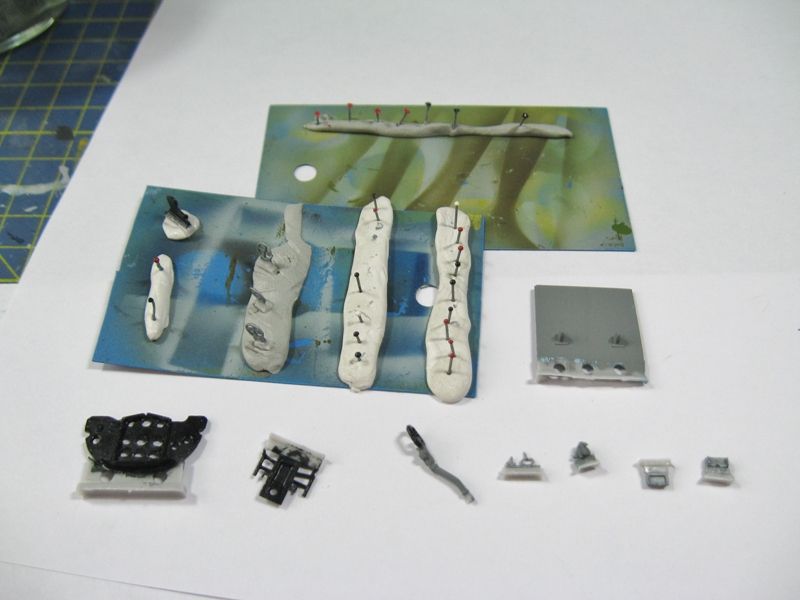  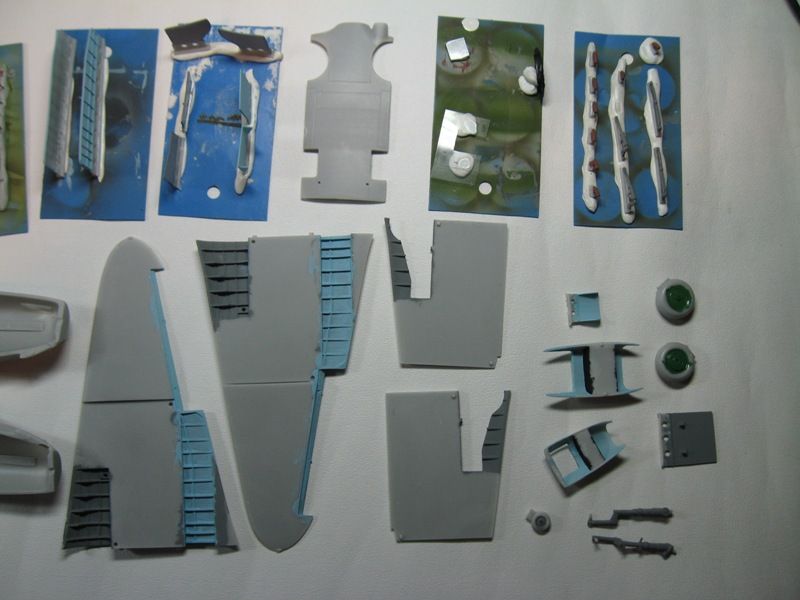 Cheers Dennis |
|
|
|
|
Logged
|
|
|
|
|
Spitfire
|
|
« Reply #4 on: February 26, 2015, 02:08:10 PM » |
|
In this way I carried on and soon had all the parts cleaned up and painted ready for assembly. 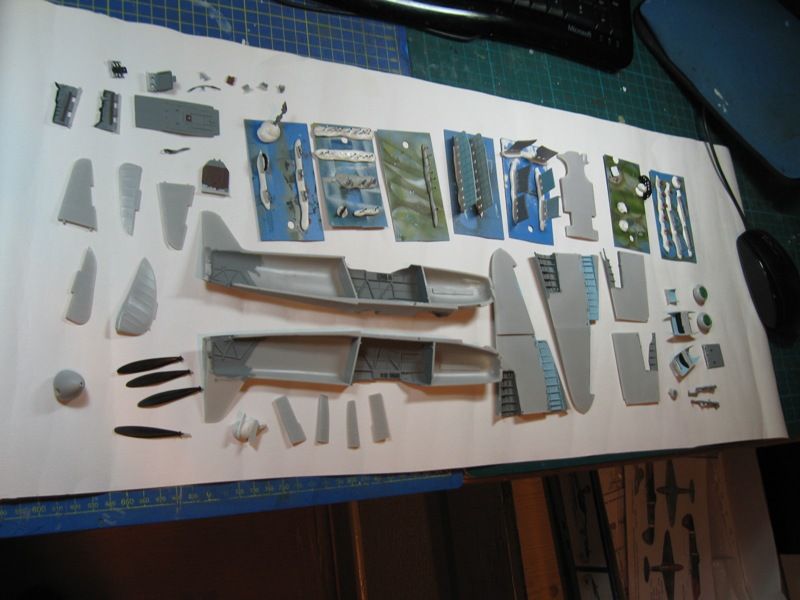  Cheers Dennis |
|
|
|
|
Logged
|
|
|
|
|
Spitfire
|
|
« Reply #5 on: February 26, 2015, 02:11:30 PM » |
|
Time to start assembling all the parts, starting as usual with the cockpit. 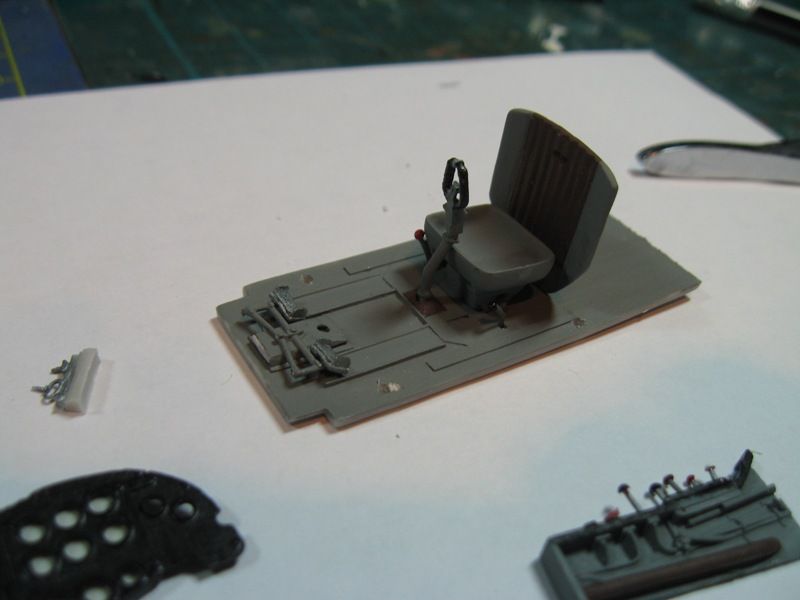 And completed 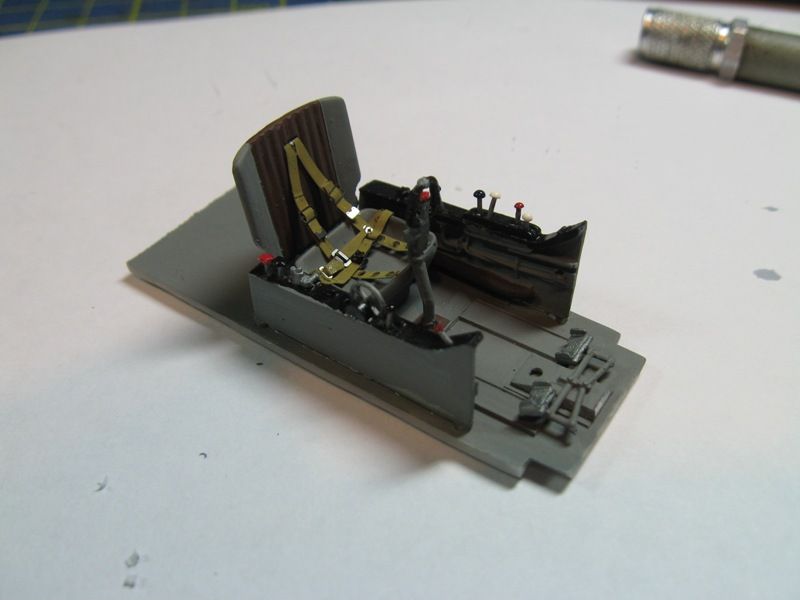 And test fitted in the fuselage, the fit was good just needing some minor adjustments. 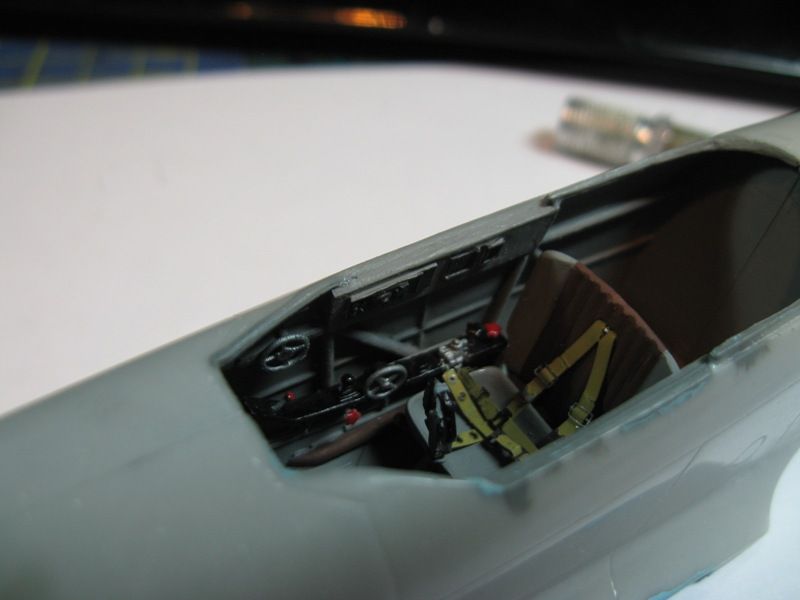 Cheers Dennis |
|
|
|
|
Logged
|
|
|
|
|
Spitfire
|
|
« Reply #6 on: February 26, 2015, 02:16:55 PM » |
|
Next up the radio shelf, cockpit, tail wheel, control panel and the gun sight frame were all test fitted in the fuselage, there were no major fit problems so I decided to glue everything in position in one side of the fuselage. 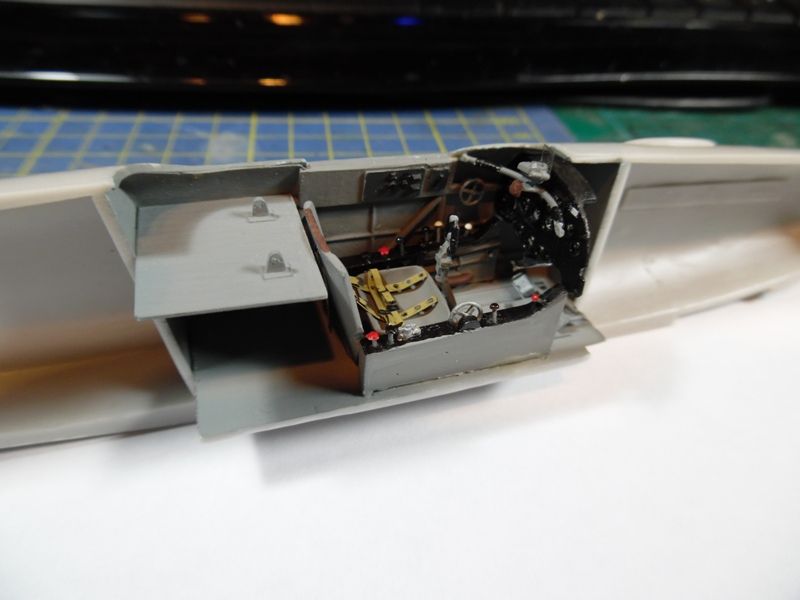 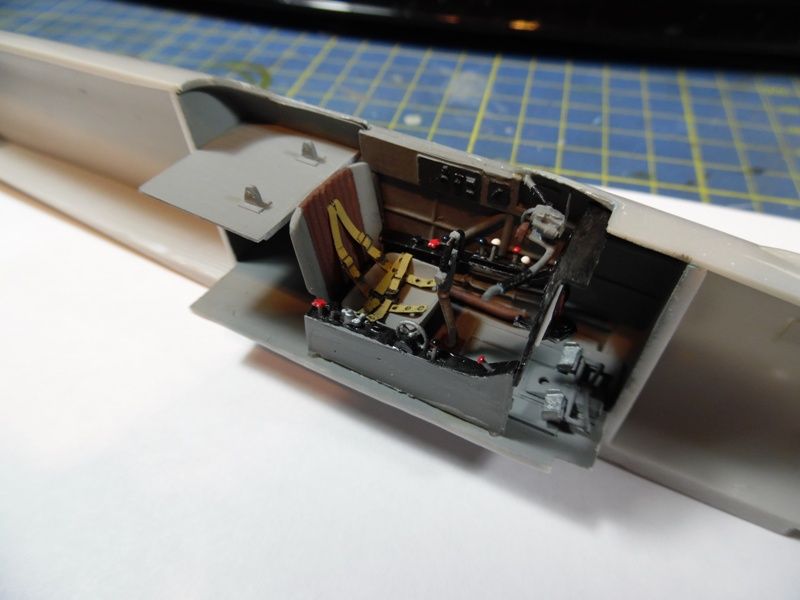 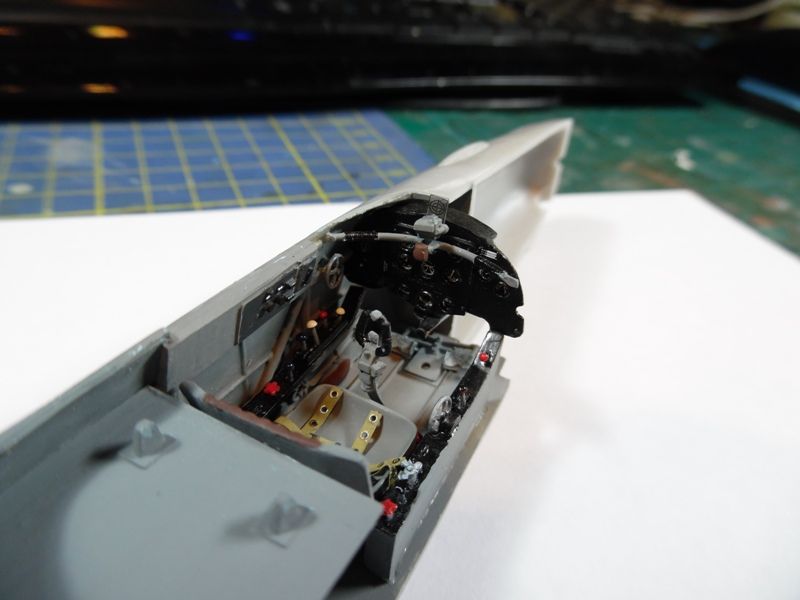 Once this was done the fuselage halves were glued together, the fuselage halves come with location pins and holes which is unusual for resin kits and they lined up perfectly. 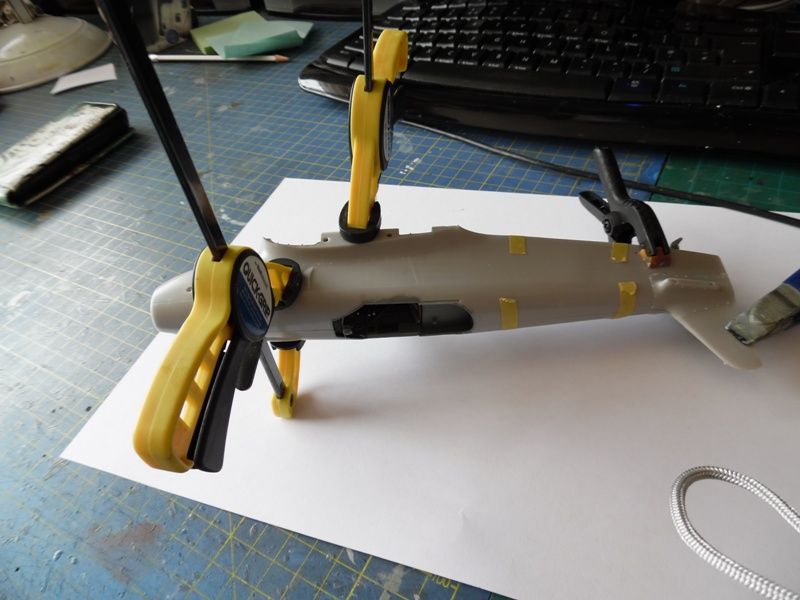 Cheers Dennis |
|
|
|
|
Logged
|
|
|
|
|
Massimo Tessitori
|
|
« Reply #7 on: February 27, 2015, 07:42:26 AM » |
|
Hi Dennis,
looks a beautiful kit.
Is your building really going so fast, or it is an impression only?
The photoetched belts look somewhat rigid. It would be better to press them on the seat.
Regards
Massimo
|
|
|
|
|
Logged
|
|
|
|
|
Spitfire
|
|
« Reply #8 on: February 27, 2015, 09:54:47 AM » |
|
Thank you Massimo, due to unforseen circumstances I have lots of time on my hands at the moment for modelling, I am a little bit further along with the kit but not too far
Cheers
Dennis
|
|
|
|
|
Logged
|
|
|
|
|
Spitfire
|
|
« Reply #9 on: February 28, 2015, 05:56:00 PM » |
|
Time to bring this build right up to date, with the fuselage all buttoned up it was time to sand and polish the seams, not my favourite job, it was made more difficult on this one as to get the seam smooth I had to sand away most of the fabric effect on the bottom of the rear fuselage, but eventually it was all done. A few air bubbles became visible during this process and they were drilled out and filled with plastic rod and CA, the smaller surface imperfections will be filled with Mr Surfacer which I will use as an undercoat. With the fuselage completed the wing centre section was glued to the bottom of the fuselage, this also has locating pins and holes which lined up very well, though there was some gaps especially in the air inlet area these were filled with scrap plastic and sanded smooth. During all this handling both the gun sight and tail wheel were snapped off but luckily they did not get lost. The wings were then glued together and the resultant seams sanded and polished 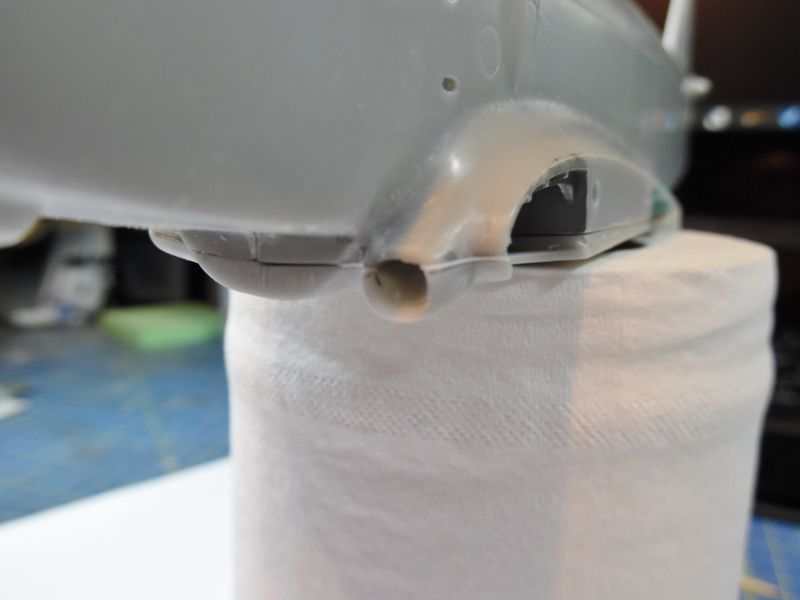 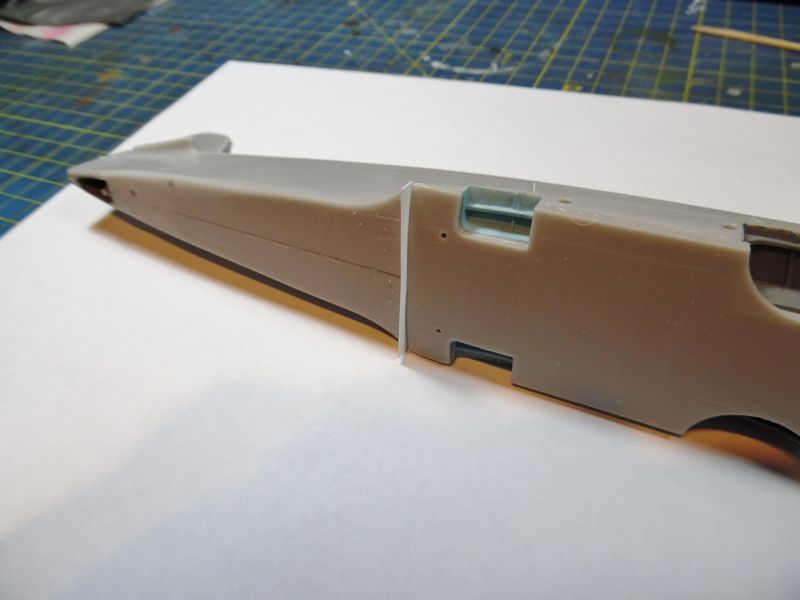 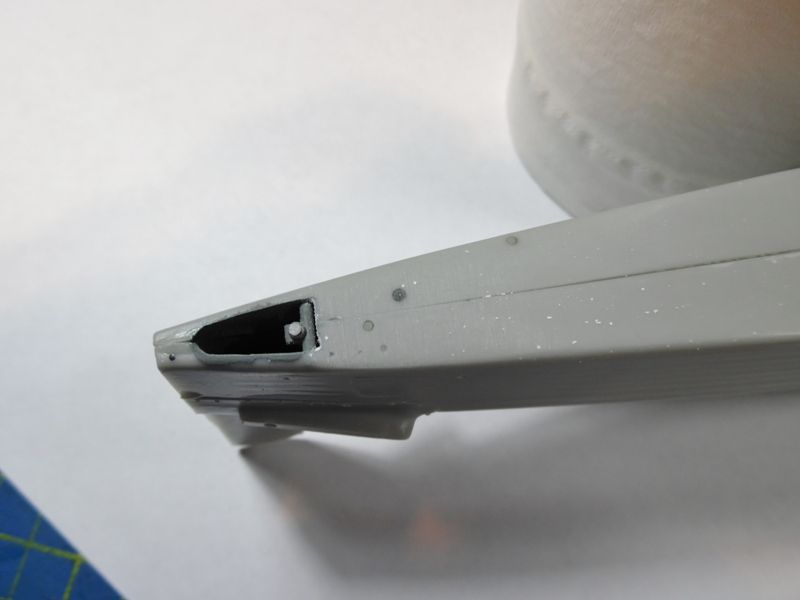 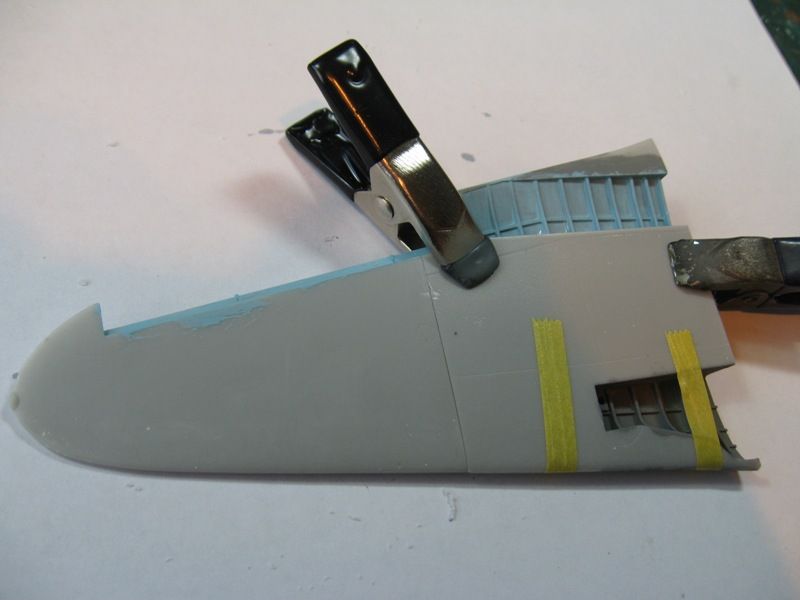 Cheers Dennis |
|
|
|
|
Logged
|
|
|
|
|
Spitfire
|
|
« Reply #10 on: February 28, 2015, 06:06:24 PM » |
|
Next up was fitting the wings, again these had locating holes and pins which lined up very well, but the trailing edge of the wing roots were both warped and pointing up, the hot water and bending treated worked on one side but on the other side I had to drill and pin the trailing edge. With the wings attached and the dihedral sorted out I was left with some gaps on the lower wing to fuselage seam, and some gaps on the leading edge wing to fuselage point, these were filled with plastic and CA. 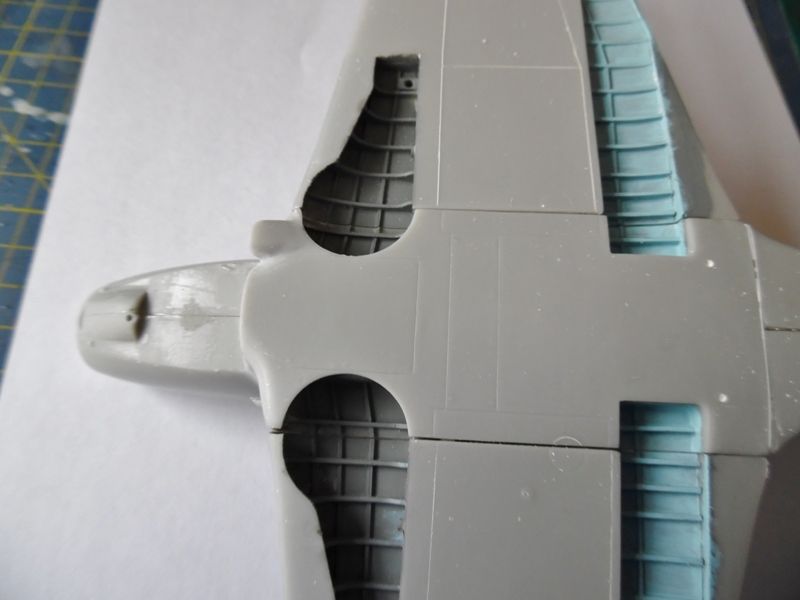 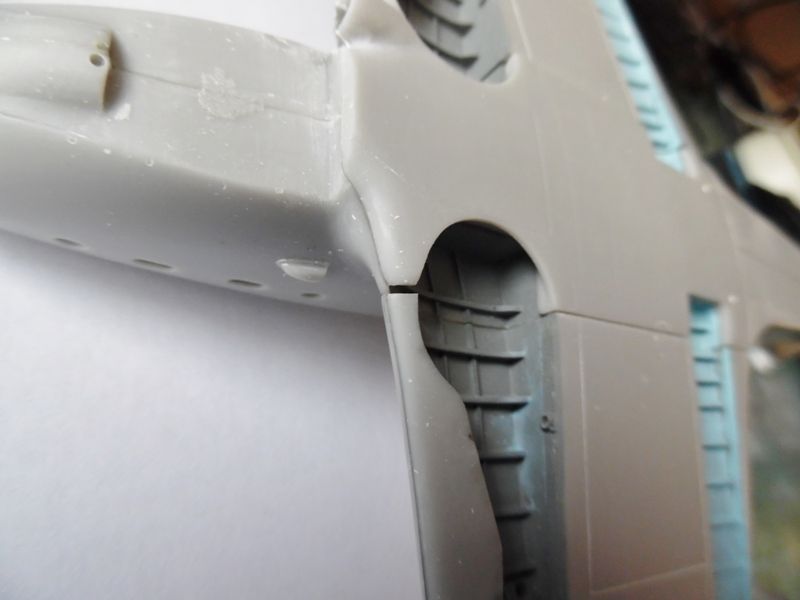 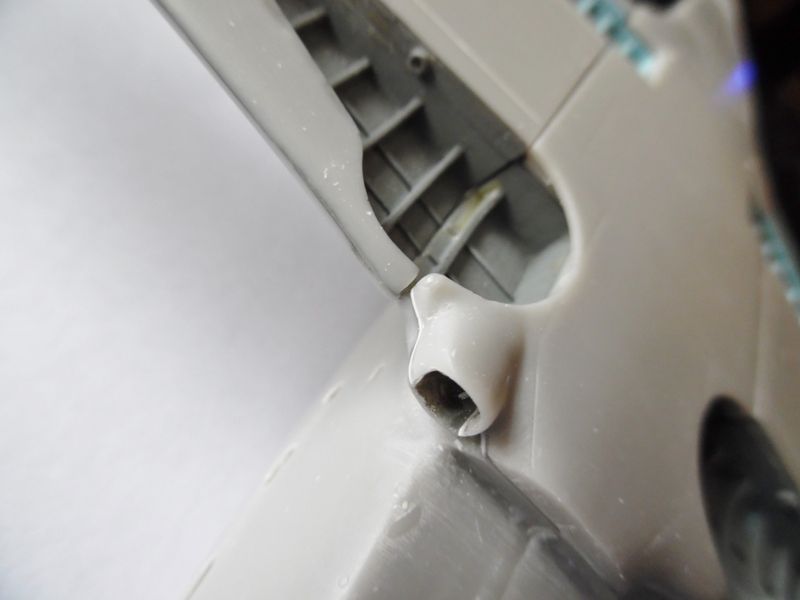 Cheers Dennis |
|
|
|
|
Logged
|
|
|
|
|
Spitfire
|
|
« Reply #11 on: February 28, 2015, 06:13:59 PM » |
|
With all the various gaps filled, sanded and polished it was time to fit the tail planes, a test fit showed that these were thicker than the stubs on the tail, so the resultant step was filled with CA and sanded smooth. The nose and under fuselage cooler housings were fitted, the gaps were filled with Mr Surfacer 1200, I spent some time on this and then realised that I had forgotten to fit the nose radiator, but I will remember on the next one. The flaps were also fitted, I like a nice clean airframe so these were fitted in the closed position. 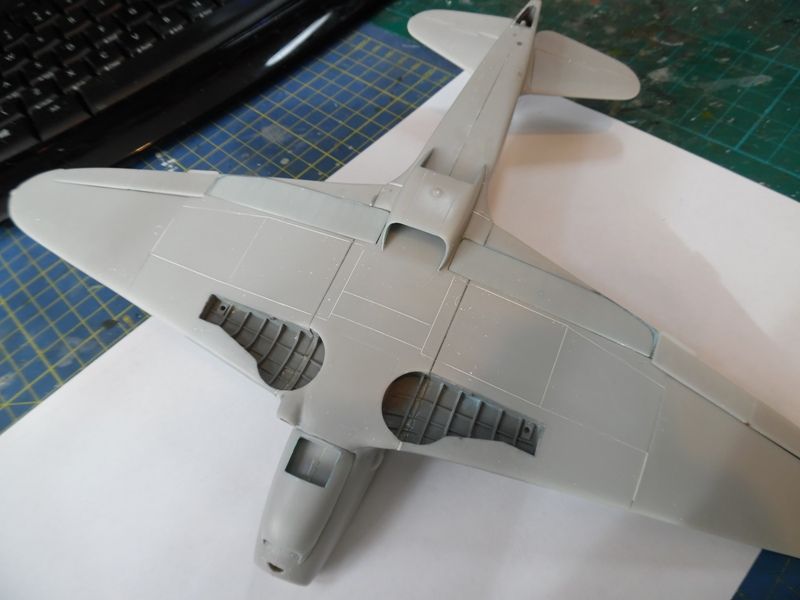 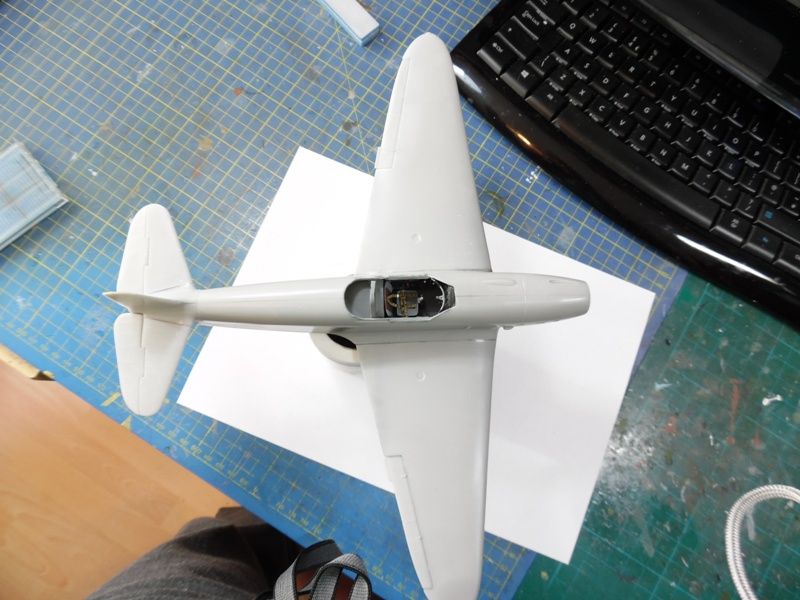 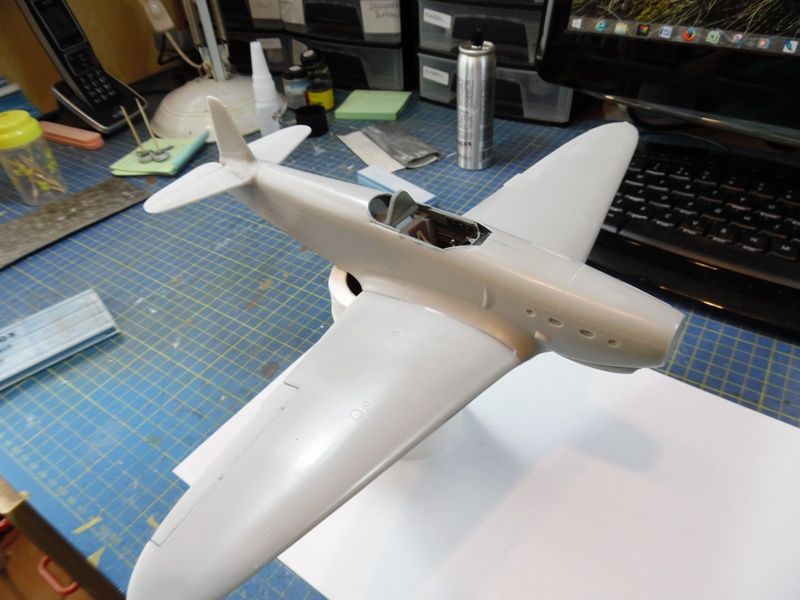 And that brings us up to date, at the moment I am struggling with the clear parts. Cheers Dennis |
|
|
|
|
Logged
|
|
|
|
|
Massimo Tessitori
|
|
« Reply #12 on: March 01, 2015, 11:51:03 AM » |
|
Hi Dennis,
good work so far. Have you any way to introduce the cooler now?
Regards
Massimo
|
|
|
|
|
Logged
|
|
|
|
|
Spitfire
|
|
« Reply #13 on: March 01, 2015, 12:06:00 PM » |
|
Hi Massimo, the only way to fit the radiator front would be to remove the scoop which took a fair bit of work to fit and blend in so I don't want to do that, I will save it and use it on the next Yak that I build.
Cheers
Dennis
|
|
|
|
|
Logged
|
|
|
|
|
Spitfire
|
|
« Reply #14 on: March 06, 2015, 08:23:15 PM » |
|
On to the canopy ready for some paint, however the rear section of the canopy is too wide for the fuselage, to get around this I have glued some plastic strip to the fuselage to give something for the clear part to sit on. 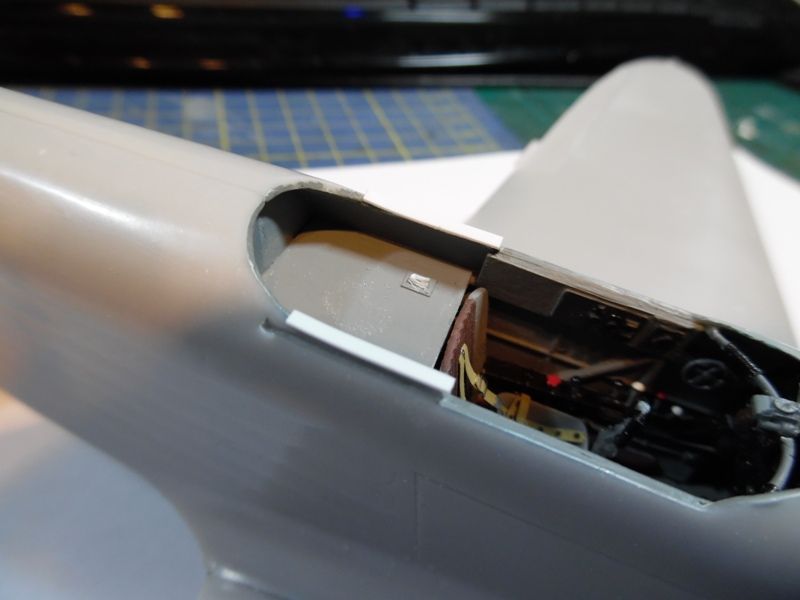 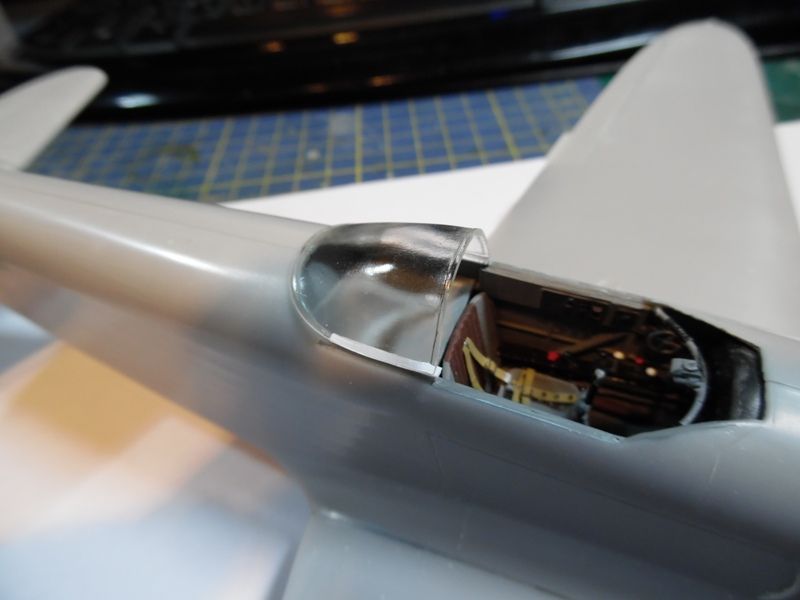 But I got impatient and removed the plastic strip and tried to glue the part on by squeezing it, this did not work and left me with CA on the fuselage and a gluey fingerprint on the clear part, luckily for me a nail buffer was enough to clean up the clear part and it was duly dipped in Klear again. I usually leave parts that have been dipped in Klear for about 3 days to dry properly so while I was waiting I decided to start on this kit. 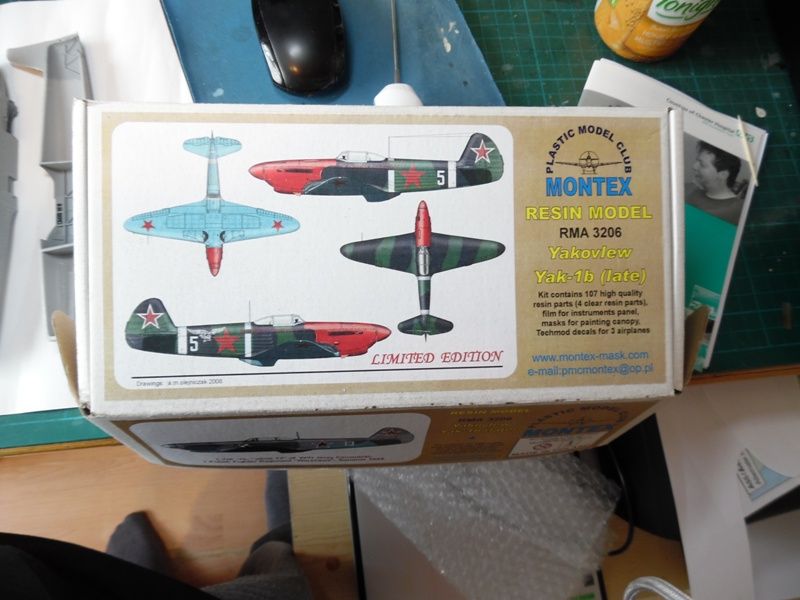 And yes it is the same kit, but as is the case with resin kits slightly different, the moulding on the AlleyCat kit is definately smoother that the Montex one, but the lessons I learned from the first kit are applicable to the second one. Cheers Dennis |
|
|
|
|
Logged
|
|
|
|
|


