Deprecated: preg_replace(): The /e modifier is deprecated, use preg_replace_callback instead in /membri/massimotessitori/sovietwarplanes/board/Sources/Load.php(225) : runtime-created function on line 3
Dakoplast 1/72 Yak-9T
Sovietwarplanes
April 26, 2024, 08:33:57 AM *
Welcome, Guest. Please login or register.

Login with username, password and session length
News: This forum replaces the old sovietwarplanes.com whose domain has expired in January 2017. It has been updated with the posts of the year 2016.
The new location of the site 'Sovietwarplanes pages' is at http://massimotessitori.altervista.org/sovietwarplanes/pages/
 
   Home   Help Search Login Register  
Pages: [1] 2
  Print  
Author Topic: Dakoplast 1/72 Yak-9T  (Read 11700 times)
dancho
Newbie
*
Posts: 25


« on: May 17, 2015, 01:48:01 AM »

I found this kit on eBay and bought it out of curiosity.


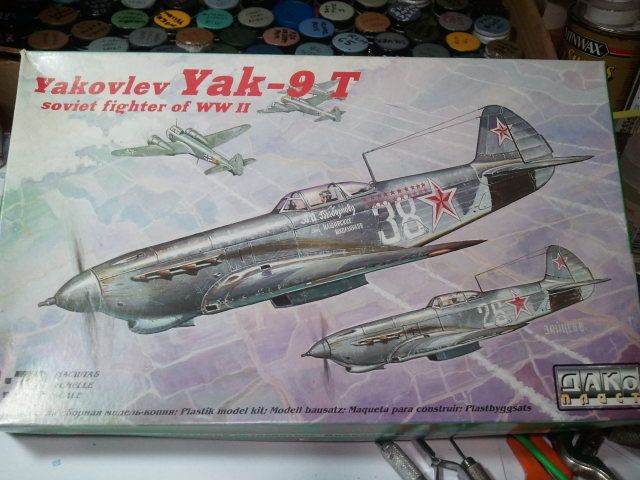
Now it looks like I'll have to BUILD it out of curiosity! Shocked

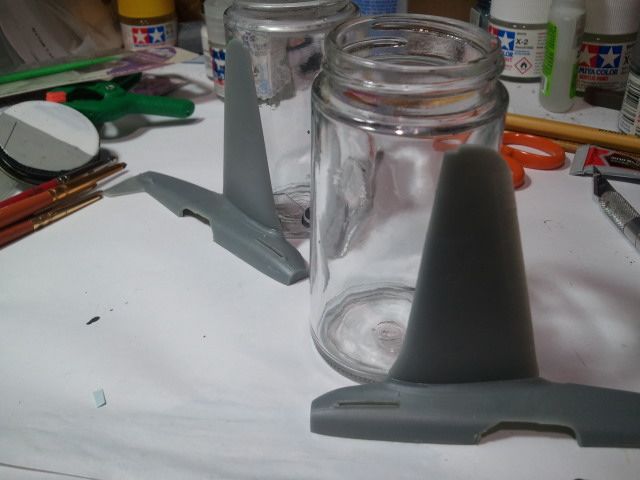
I glued the wing-tops to the fuselage halves using Micro Weld. This avoids having to fill a wing-root gap (second in seriousness only to a mine-shaft gap).


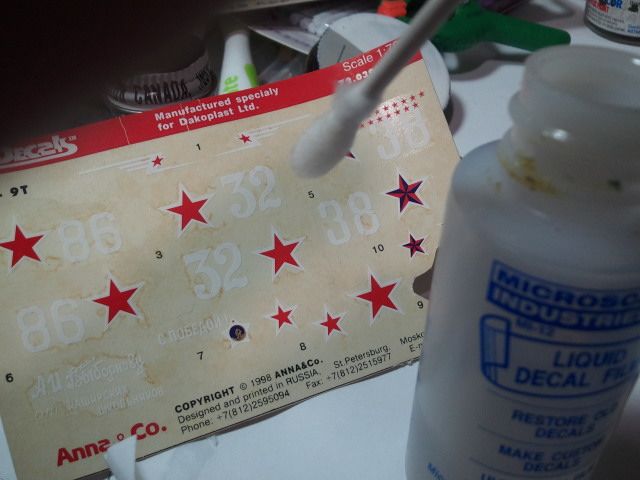
Gave the decals a coat of Liquid Decal Film.  I apply this stuff with a cotton swab because it can easily ruin a brush.


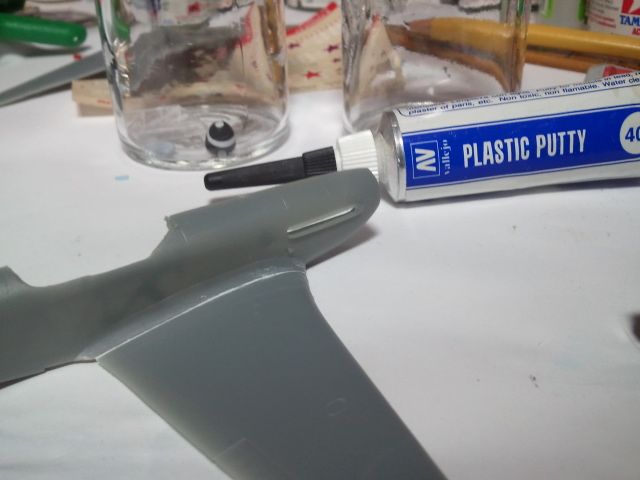
A little Vallejo Putty, smoothed with a damp finger, fills the wing root without sanding.


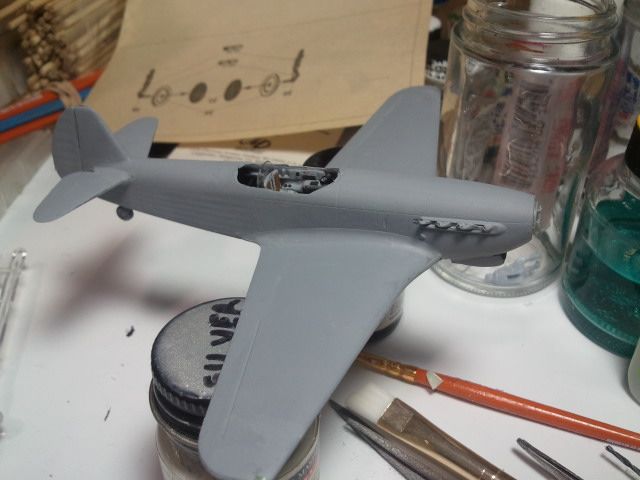
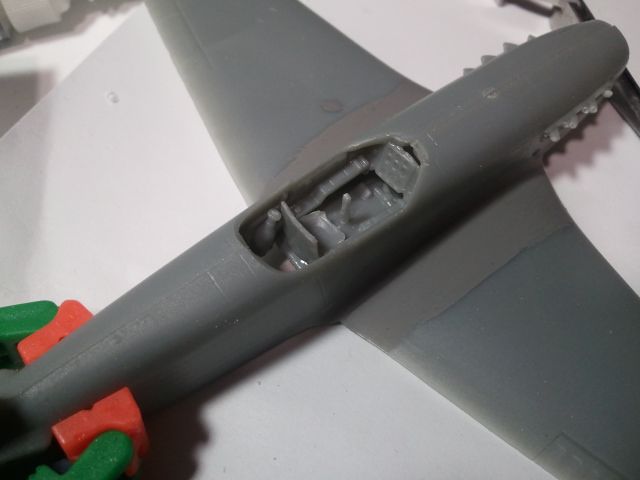
Installing the cockpit turned out to be an exercise in frustration. I finally guessed on the proper alignment and splashed on a quart of super glue and a pint of accelerator.  Viola!


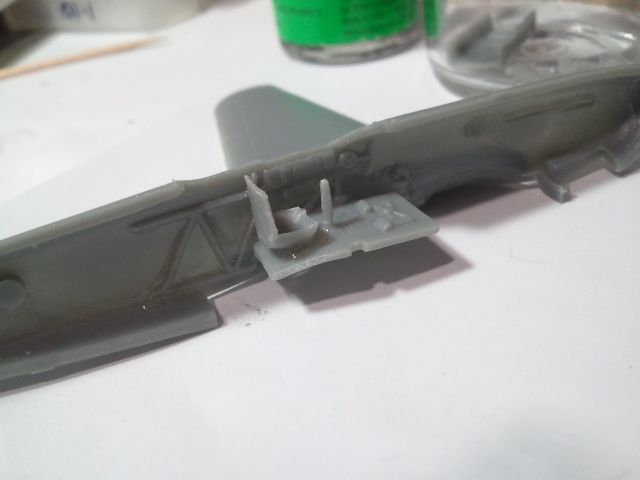
Doesn't look TOO bad...


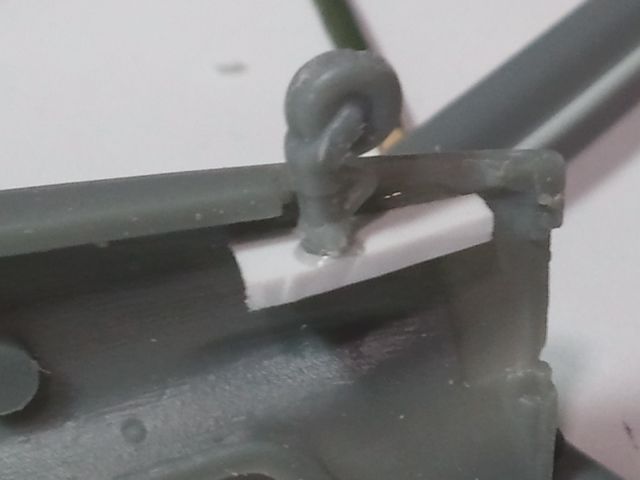
Attachment of the tail wheel was flaky. I redesigned it.


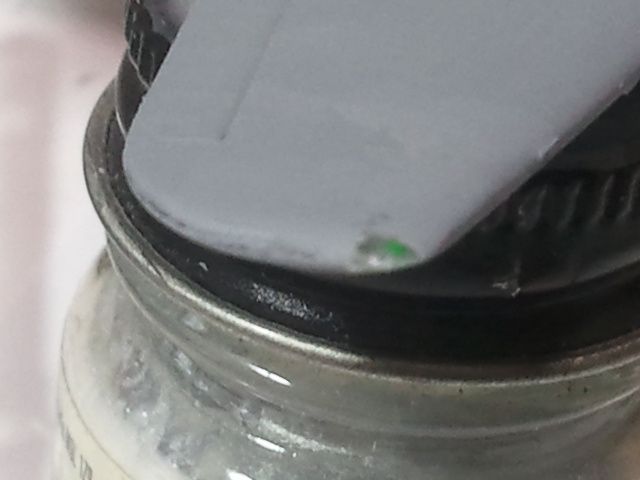
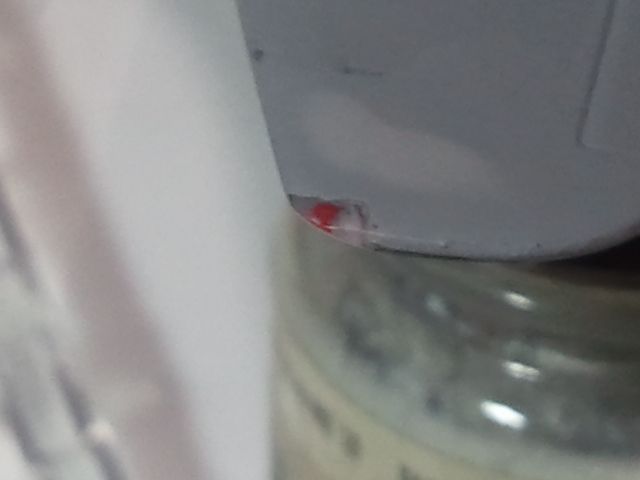
I decided to use Modelmaster Dark Ghost Gray for the interior gray, then I decided to give the whole thing a coat of Dark Ghost Gray. Then I put a micro-drop of green paint in one wingtip light and a microdrop of red paint in the other wingtip light and glued them to the wingtips with globs of super glue. Once this set up, a nail buffer gave me all the tools I needed to blend the lights into the wings.


Cockpit got painted.


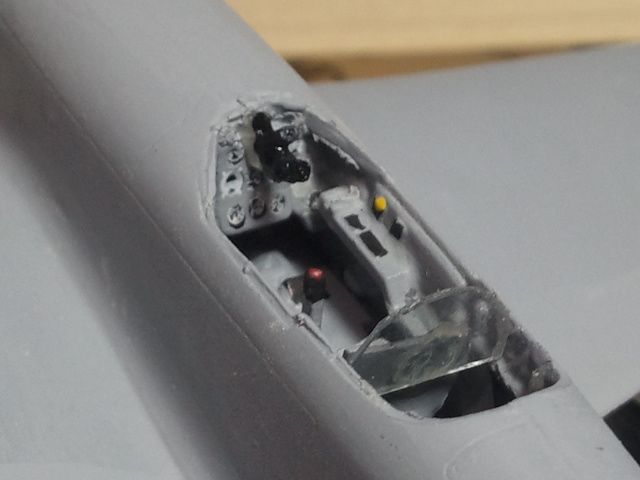
My usual amazing decal job for the seat belts.


Which brings us up to the present.


Logged
Massimo Tessitori
Administrator
Hero Member
*****
Posts: 6528


« Reply #1 on: May 17, 2015, 08:21:30 AM »

Hi.
I've built his cousin, Yak-9D of the same firm.
It's a fairly good model, practically the only decent one on this subject. the firm has soon disappeared, perhaps some kits were reboxed by Eastern Express but I'm not sure.
The main defect is that plasic is very thick, so one has to make a work to make thin pieces as uc doors and prop blades. The thing is visible on the fin and rudder too, but here it's difficult to correct.
Regards
Massimo
Logged
dancho
Newbie
*
Posts: 25


« Reply #2 on: May 17, 2015, 04:48:49 PM »

Greetings, Maestro! I greatly respect your work and hope that my poor effort won't look too shabby on a forum where the standard is so high.
Logged
Massimo Tessitori
Administrator
Hero Member
*****
Posts: 6528


« Reply #3 on: May 17, 2015, 05:45:55 PM »

Are you joking? Why do you write this?
Logged
dancho
Newbie
*
Posts: 25


« Reply #4 on: May 17, 2015, 06:14:29 PM »

My apologies. I think I have you confused with a different Massimo.
Logged
learstang
Hero Member
*****
Posts: 1863


« Reply #5 on: May 17, 2015, 06:20:04 PM »

Nice work on the Yak! I have a Yak-9K I'm working on. I love those big-gun Yaks. The idea of a putting a 37-mm cannon on that tiny fighter is amazing. And the 45-mm on the Yak-9K - it nearly shook the aircraft apart when it was fired! Still, the Yak-9T was quite successful.

Regards,

Jason
Logged

"I'll sleep when I'm dead."

- Warren William Zevon
Massimo Tessitori
Administrator
Hero Member
*****
Posts: 6528


« Reply #6 on: May 17, 2015, 08:48:55 PM »

I see.
Logged
dancho
Newbie
*
Posts: 25


« Reply #7 on: May 18, 2015, 07:20:29 PM »

After a bit of brush-painting magic we find this:


The paints are Testors Modelmaster Acryl, mixed to match.  The "sprayed on" effect is the result of stippling.


Now, I should point out that I was in error concerning the underwing stars. Dakoplast did include them and they were on the instruction sheet. They weren't on the "side view" drawing and I jumped to the wrong conclusion (I seem to be doing that a lot lately). Grin


But...all is not well. Here is an image showing the problem in a nutshell. Compare the decal with the (correct) boxtop painting.


Ummmmm. Ahhhhh. Something RWONG in Denmark, er, I mean, Russia.  I intend to build this aircraft so I'm going to have to cut up the decal and switch it around. I'll also be replacing the stars, since they look a bit under-size compared to this image.
Logged
learstang
Hero Member
*****
Posts: 1863


« Reply #8 on: May 18, 2015, 07:57:38 PM »

Nice job on the painting!

Regards,

Jason
Logged

"I'll sleep when I'm dead."

- Warren William Zevon
Massimo Tessitori
Administrator
Hero Member
*****
Posts: 6528


« Reply #9 on: May 18, 2015, 10:03:52 PM »

Hi,
good painting job.
It seems also that the dark sectors of the Kremlin-style stars are inverted. Anyhow, one can cut the decal and exchange the stars.
Regards
Massimo
Logged
dancho
Newbie
*
Posts: 25


« Reply #10 on: May 18, 2015, 11:16:24 PM »

It seems also that the dark sectors of the Kremlin-style stars are inverted.

Good catch!  Another reason to replace the national insignia.
Logged
dancho
Newbie
*
Posts: 25


« Reply #11 on: May 19, 2015, 03:46:23 AM »

Now I'm wondering about the underwing national insignia. The instructions indicate that these were "ordinary" and not the Kremlin style stars. Is this correct? The other stars are the Kremlin style, so I'd assume that they would all be the same, but what do I know? I thought I should ask before I proceed--just in case someone might know for sure.
Logged
learstang
Hero Member
*****
Posts: 1863


« Reply #12 on: May 19, 2015, 04:46:05 AM »

I don't know for certain on this particular aircraft, but it wasn't uncommon for VVS aircraft to have the Kremlin-style stars in one place (the fuselage, for example), yet retain the normal red stars in other positions, like the wing. Your best bet is to try and find photographs of this particular aeroplane.

Regards,

Jason
Logged

"I'll sleep when I'm dead."

- Warren William Zevon
Ohotnyik
Jr. Member
**
Posts: 94


« Reply #13 on: May 19, 2015, 06:40:14 AM »


Logged
dancho
Newbie
*
Posts: 25


« Reply #14 on: May 19, 2015, 03:52:22 PM »

Thanks for the great images. My model doesn't really look like the real thing. I think I'll call this model a "representation" of Vybornov's aircraft.  I've gotten it as close to "the truth" as it's going to get. Sometimes you just have to know when to quit. The model has been a struggle, and the decals are quite a struggle. So I'm happy it's turned out as well as it has.

Here a couple of images of the state of things right now. It doesn't look too bad.


The port side is where the trouble started and where it remains. I managed to get the kill marks and the number 38 in the correct position, but before I could congratulate myself I saw that the inscription decal was too large. Looks like 1/48 scale instead of 1/72. I used it anyway-- it's close enough. Then the decal tried to disintegrate as I has applying it. Oh my. I'm not angry. Just very, very disappointed.


Here's a close-up of the offending area.


I think I'll apply a few stencils from the Authentic Decals sheet for the Yak-3 and then move on the "fiddly bits." Grin
Logged
Pages: [1] 2
  Print  
 
Jump to:  

Powered by MySQL Powered by PHP Powered by SMF 1.1.11 | SMF © 2006-2009, Simple Machines LLC Valid XHTML 1.0! Valid CSS!