Deprecated: preg_replace(): The /e modifier is deprecated, use preg_replace_callback instead in /membri/massimotessitori/sovietwarplanes/board/Sources/Load.php(225) : runtime-created function on line 3
I-15bis Model
Sovietwarplanes
March 19, 2024, 08:08:53 AM *
Welcome, Guest. Please login or register.

Login with username, password and session length
News: This forum replaces the old sovietwarplanes.com whose domain has expired in January 2017. It has been updated with the posts of the year 2016.
The new location of the site 'Sovietwarplanes pages' is at http://massimotessitori.altervista.org/sovietwarplanes/pages/
 
   Home   Help Search Login Register  
Pages: [1]
  Print  
Author Topic: I-15bis Model  (Read 2858 times)
Old Man
Newbie
*
Posts: 46


« on: April 12, 2017, 01:02:40 AM »

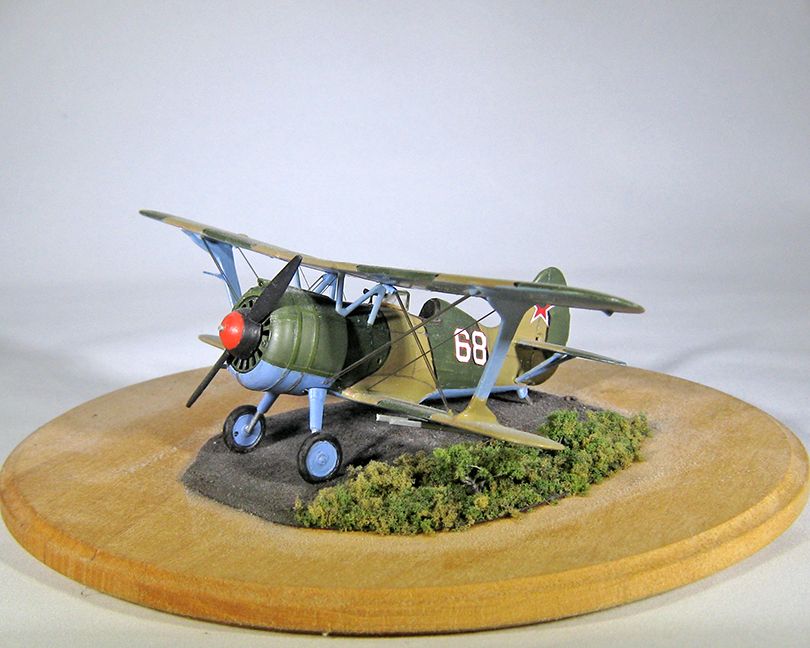
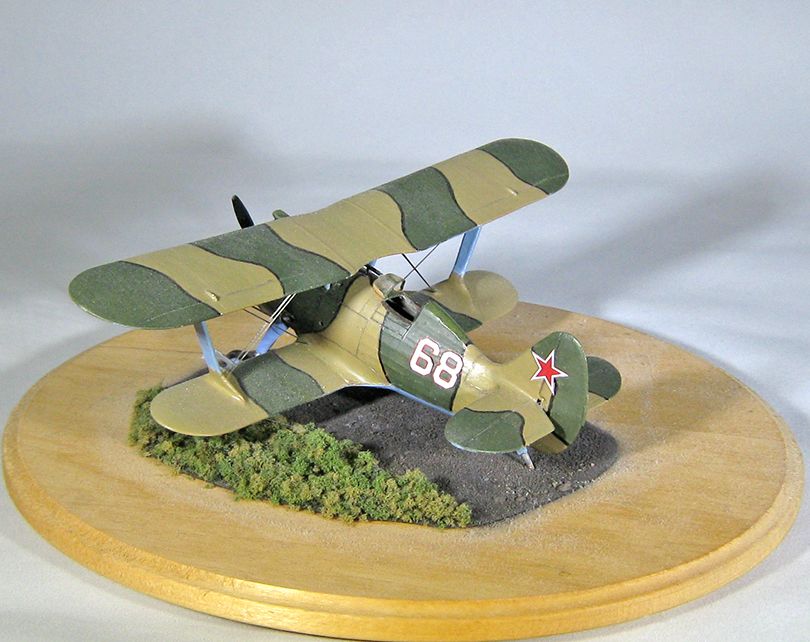
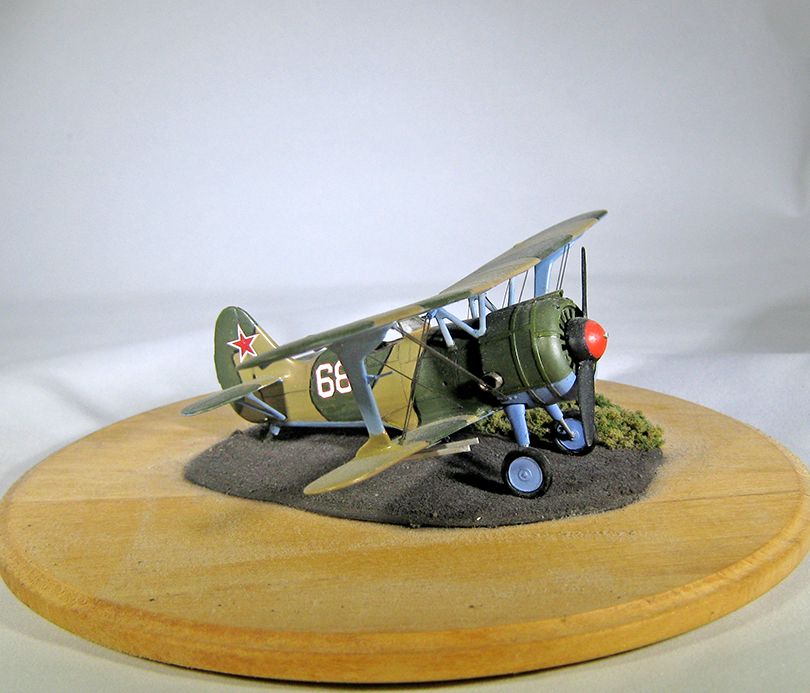
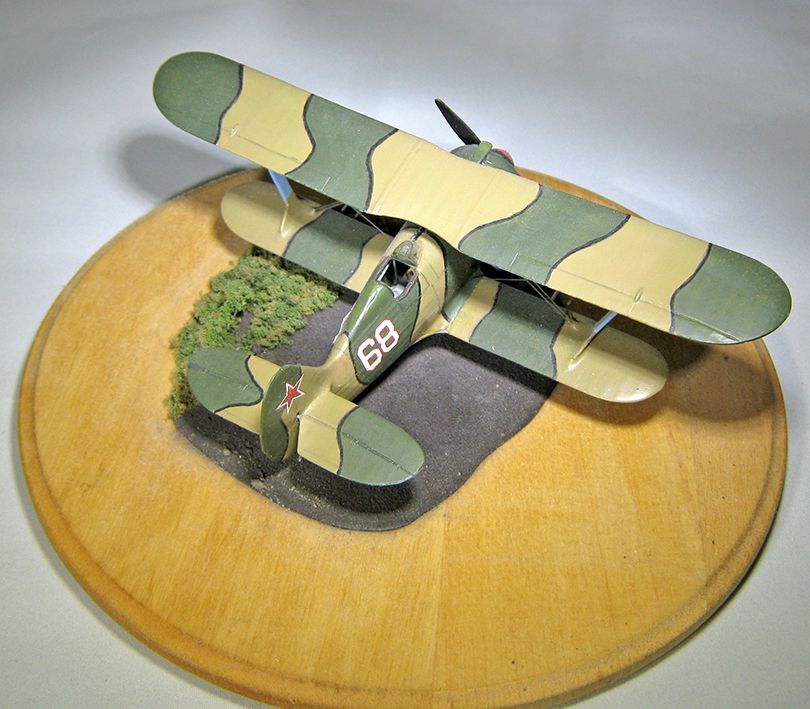
I did this several years ago, following the photograph and commentary in the I-15bis research section on 'white 68' on the old site. After seeing the new I-15bis profiles here, I took some fresh pictures of it, using a light-box wife got me as a Valentine's Day present.


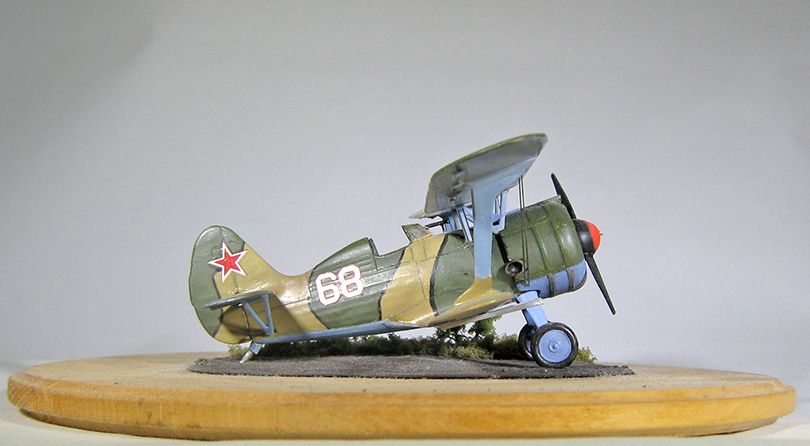
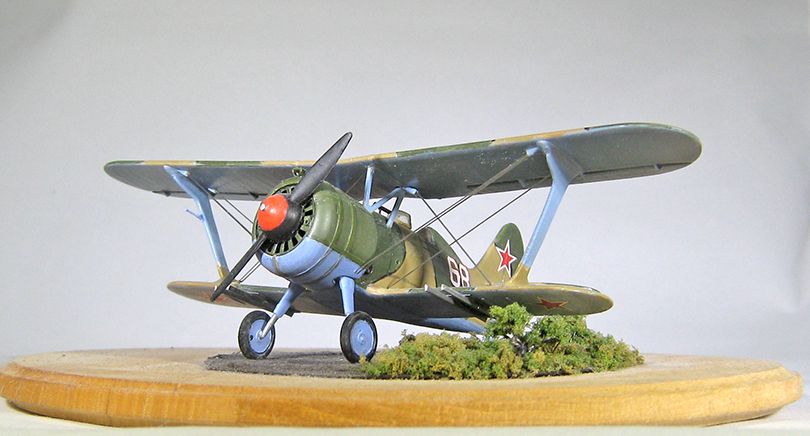
I missed the antenna wire, and suppose I ought to put it on sometime. I am glad to know the unit and use of the thing, surviving so late and out of the way as it did.

The kit is the old-tool ICM 1/72 kit, with a few tweaks. I lengthened the interplane struts to match the gap set by the kit cabanes. I think this makes the gap a hair too great, and that the best way to approach this kit is to extend the interplanes by 0.5mm, and scratch new cabanes to match. I assembled and finished the wings as a unit, and attached them then to the assembled and largely finished fuselage. This makes dealing with seams at the interplane to wing joints easier, and if you prepare with some care, the lower wing can fit quite nicely, even at the fuselage bottom. The open bottom allows for good placement of interior elements, too.
« Last Edit: April 12, 2017, 01:05:22 AM by Old Man » Logged
Massimo Tessitori
Administrator
Hero Member
*****
Posts: 6528


« Reply #1 on: April 12, 2017, 04:56:38 PM »

Hi Old Man,
nice model.
I've built the same kit years ago. I still wonder what is the improvement of the newer tool on the earlier one.
Regards
Massimo
Logged
Old Man
Newbie
*
Posts: 46


« Reply #2 on: April 14, 2017, 04:18:54 PM »

Glad you like it, Sir.

Short answer on the new tooling relative to the old is that interior is much improved, surface detail better, rudder is a separate piece, and decals much superior. Unfortunately, both the interplane and cabane strut pieces are exactly the same size, so there is no improvement in fit regarding the gap.

If you don't mind me going a little off-topic for this sub-forum, and an off-site link, here are a few older pictures of a build of the new tool kit, in late Chinese livery....


This was built to the interplanes, with cabanes scratched to match, and you should be able to see the narrower gap this gives. The model is intended to represent a refurbished/reconstructed example, which I understand would have received the usual Chinese monochrome. The pictures were taken in direct indoor sunlight with diffused flash. Here is a link to an account of putting the thing together you might find useful, posted up some while back in my usual HyperScale 1/72 haunt....

http://www.network54.com/Forum/644810/thread/1378211357
Logged
Pages: [1]
  Print  
 
Jump to:  

Powered by MySQL Powered by PHP Powered by SMF 1.1.11 | SMF © 2006-2009, Simple Machines LLC Valid XHTML 1.0! Valid CSS!