Hello everyone,
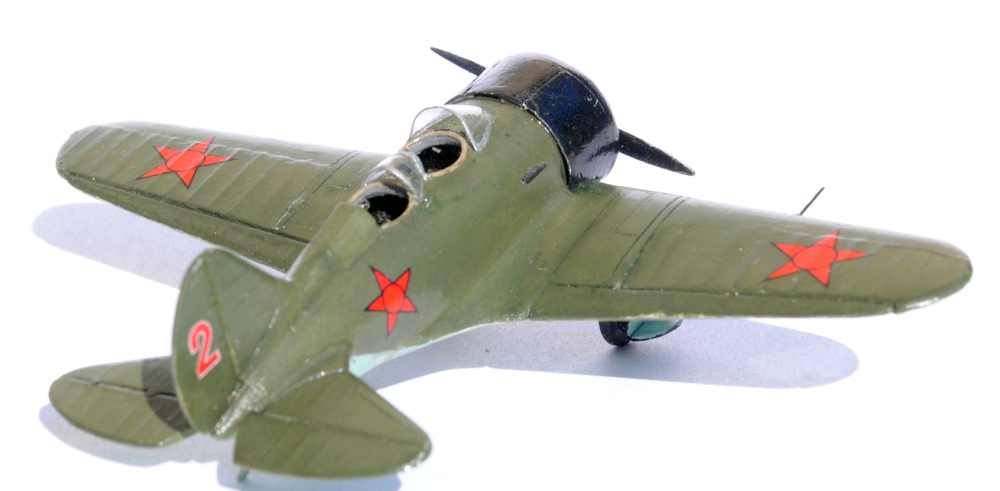
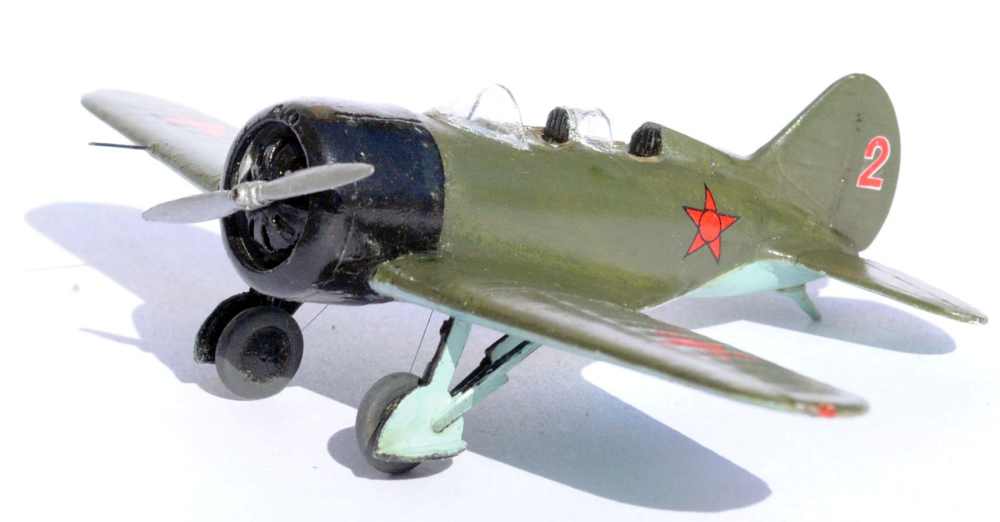
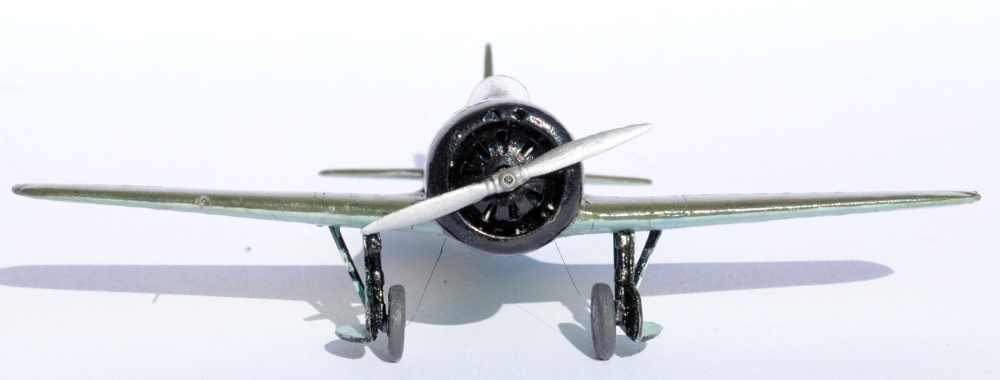
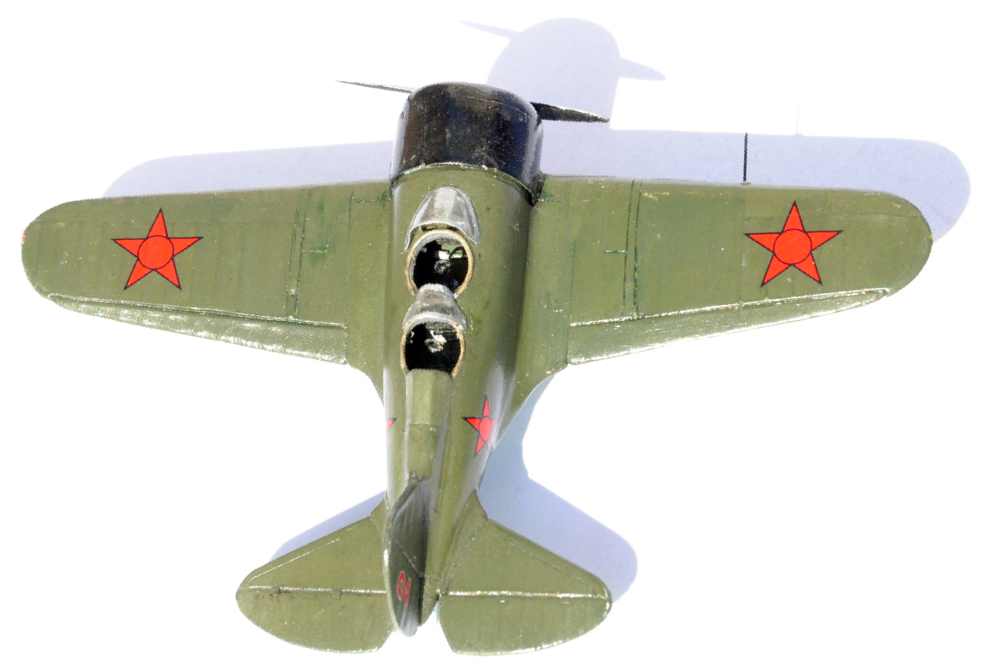
In the the Ishak family , in order of appearance in chronological order , after Type 4, I present the UTI-2, two-seat unarmed trainer,
With the entry into service of the I-16 in 1934 in the VVS, pilots switched from fixed-gear biplane fighters such as the I-15 to a retractable landing gear monoplane with very different flight characteristics. The need for a two-seater trainer first led to a derivative of the I-16 type 4 with a single canopy for the two cockpits, the UT-2 , only 2 built.
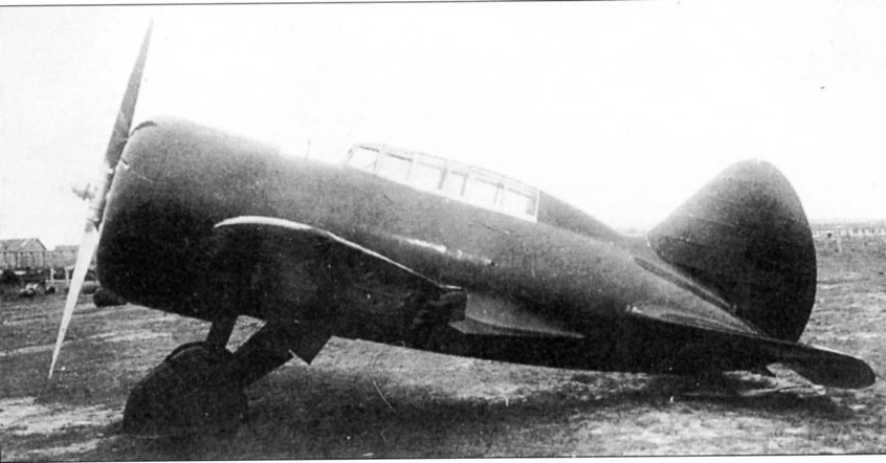
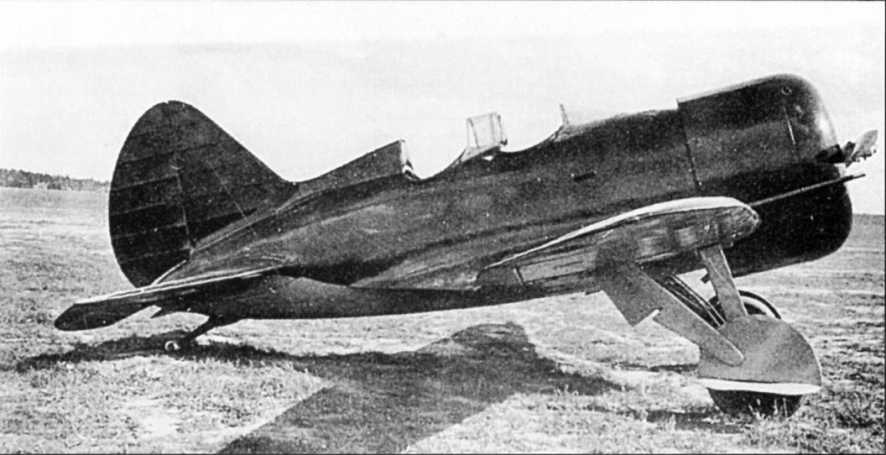
Then a model where the 2 separate cockpits were equipped with windscreens, the UTI-2 produces a hundred copies,
To built this model, I used the Amodel kit of the UTI-4,. This aircraft was developped after the UTI-2 when the M 25 engine became available.
Amodel offers the UTI-4 under 3 boxings, the old one and the 2 new ones. If the boxart has not changed, the new versions correspond to a new mold.
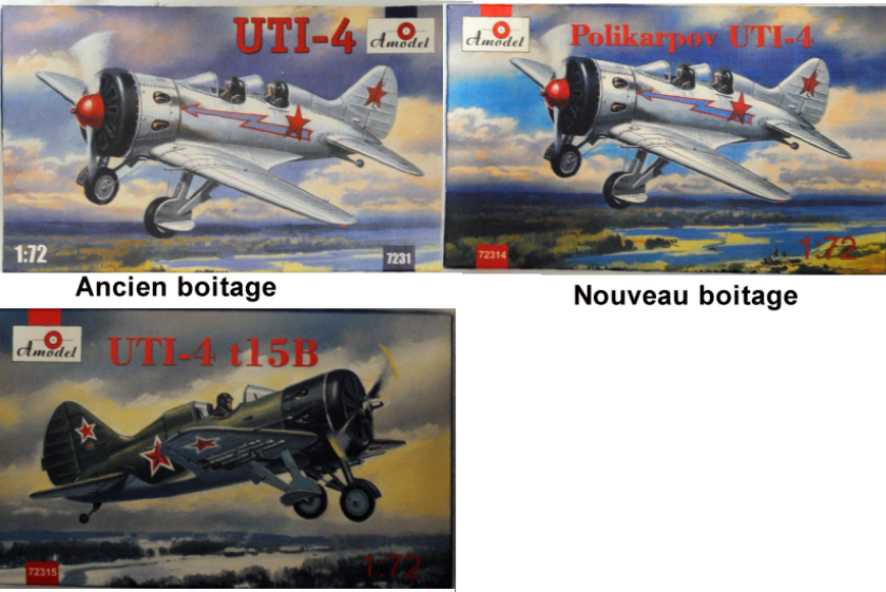
For this UTI-2, I used the old boxing.
The kit is almost identical to the type 5 that I used to mount the I-16 type 4, but it has an advantage, the engine cowling pannels are not molded with the fuselage, unlike the new version and it will facilitate the scratch of this very different part between UTI-2 and UTI-4, the work is comparable to what I did to transform the Amodel Type-5 in a Type-4.
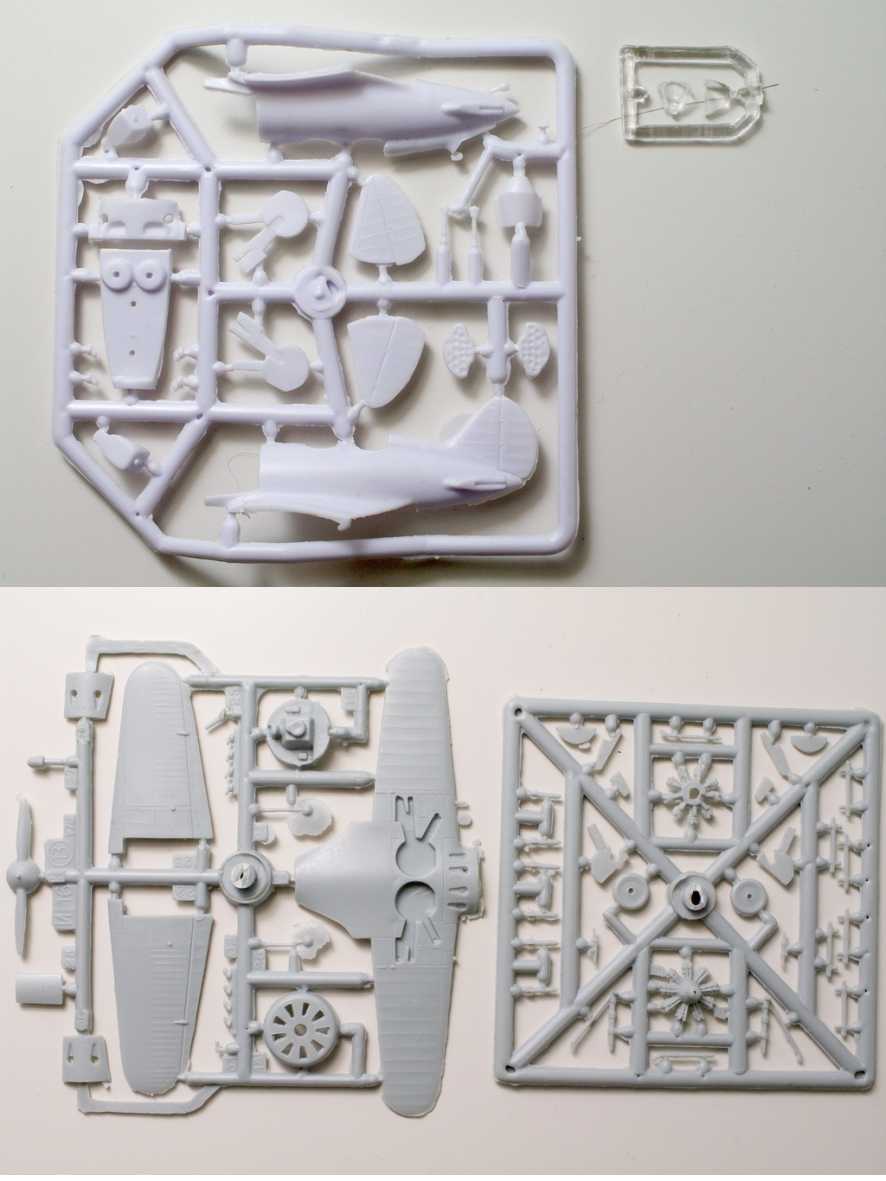 Here are the different steps of creating a UTI-2: 1- Fuselage
 The accesses to the cockpit are larger than the one of the I-16 and it is more visible.
So I scratched a little bit the interior
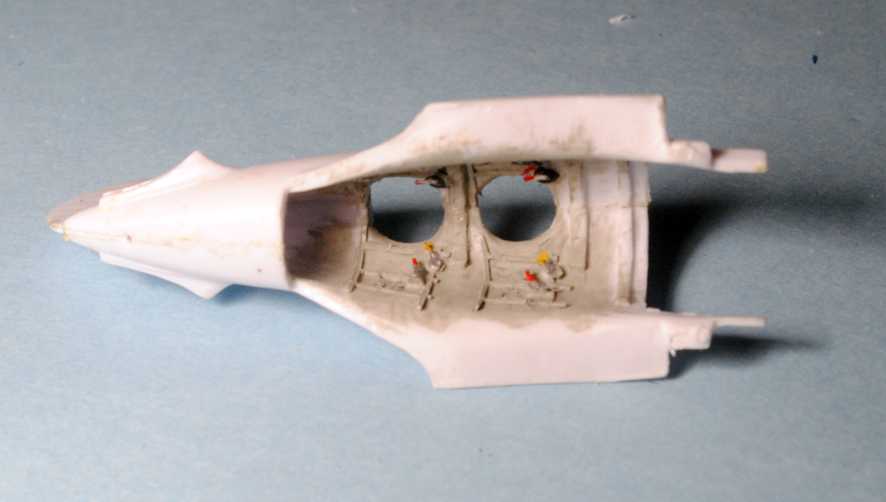
The dashboards
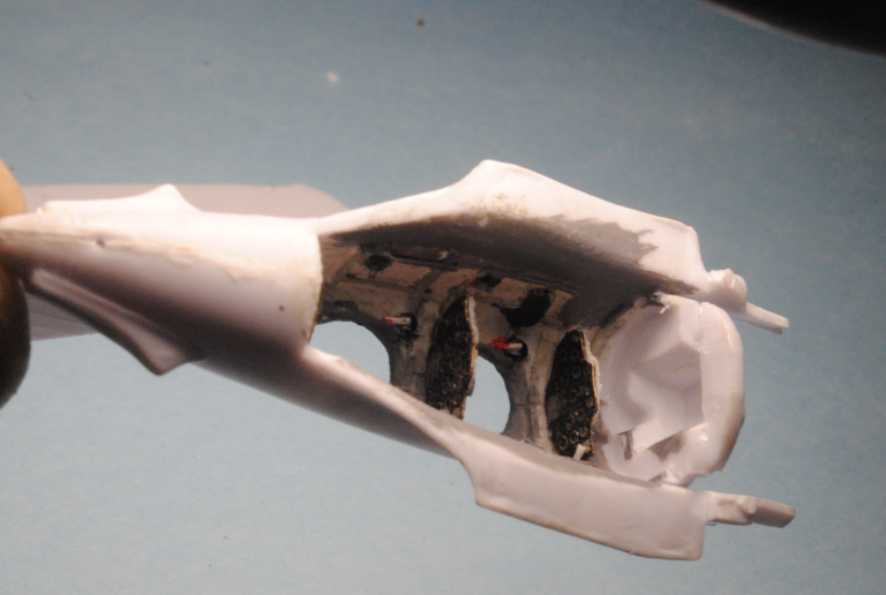
M25
I corrected floor and seats poorly represented in the kit.
 2- Landing gear and wheel wells
 The I-16 Amodel having all the same defects in the landing gear, I corrected the wheel wells and struts as on type 4.
The wheels were 750x100, I refer you to Type 4 for their realization
In this photo we see that I cut the lower cowling panel with 4 exhausts as the UTI 2 had a NACA cowling identical to type 4
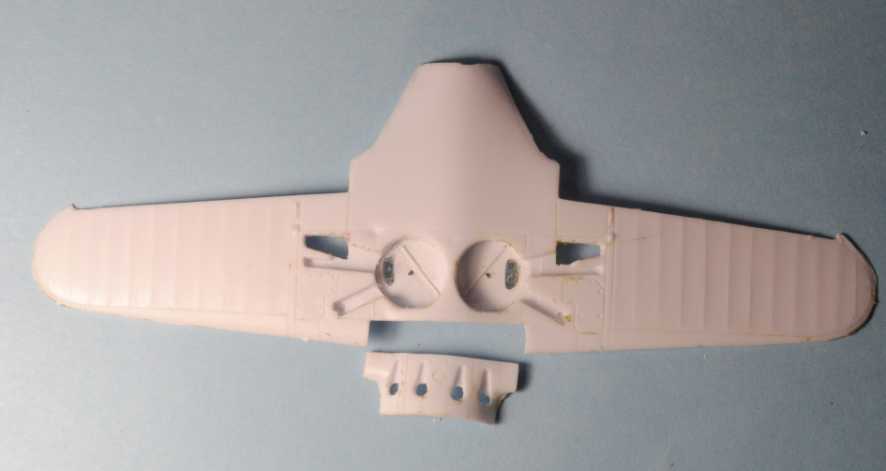 3 Wings
 The UTI -2 has the wings of Type 4 with spaced ribs while the kit offers the Type5 reinforced version
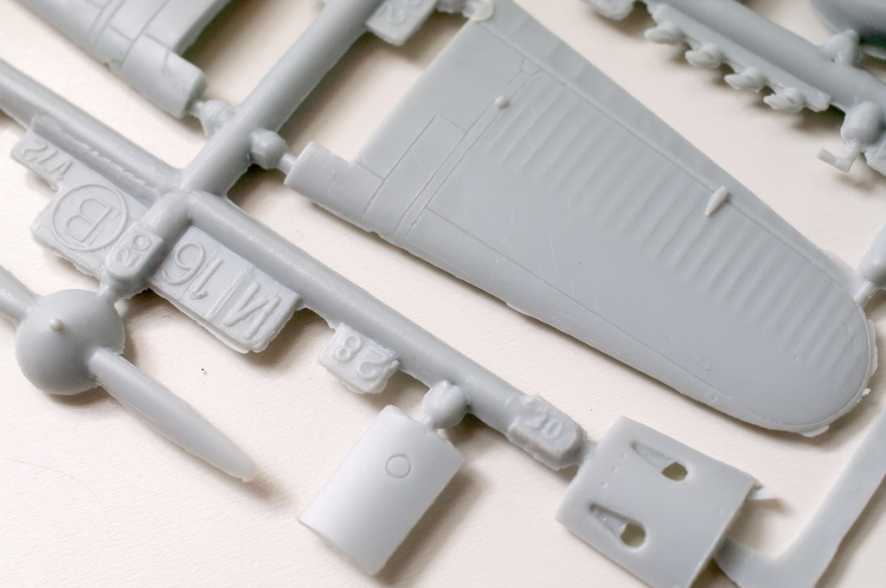
The technique used on the type 4, enlargement of inter-rib spaces by grinding having given a rather crude result, I decided to use the technique described by Ricardo Rodriguez here:
https://www.tapatalk.com/groups/forodemodelismo/proyecto-ishak-capitulo-3-1-parte-antes-de-los-poz-t8820.html#p626251- So I put the plan on the extrados to cut the part to eliminate.

2-I made a silicon mild of the intrados which has the right ribs spacing.
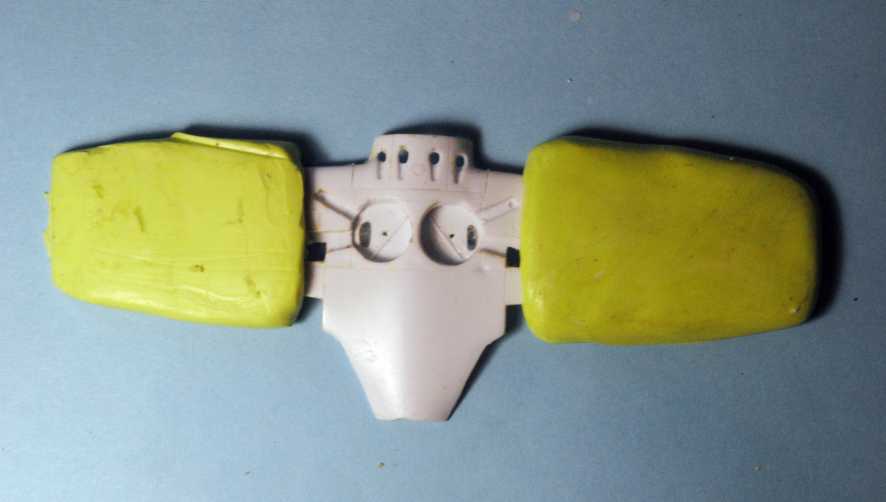
then I didn't make a resin cast of the complete intrados to cut after the useful part as Ricardo did.
I plated the conserved parts of the extrados in the silicone molds
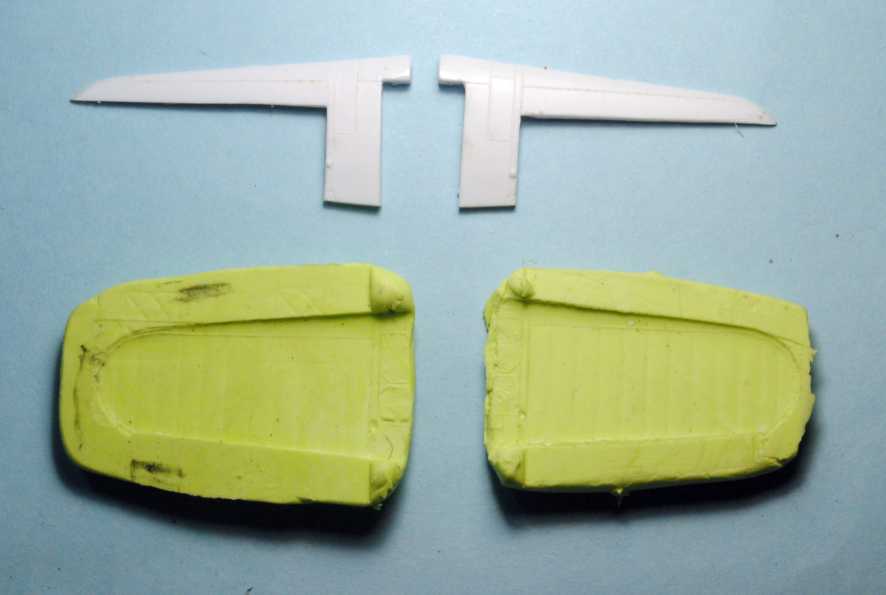
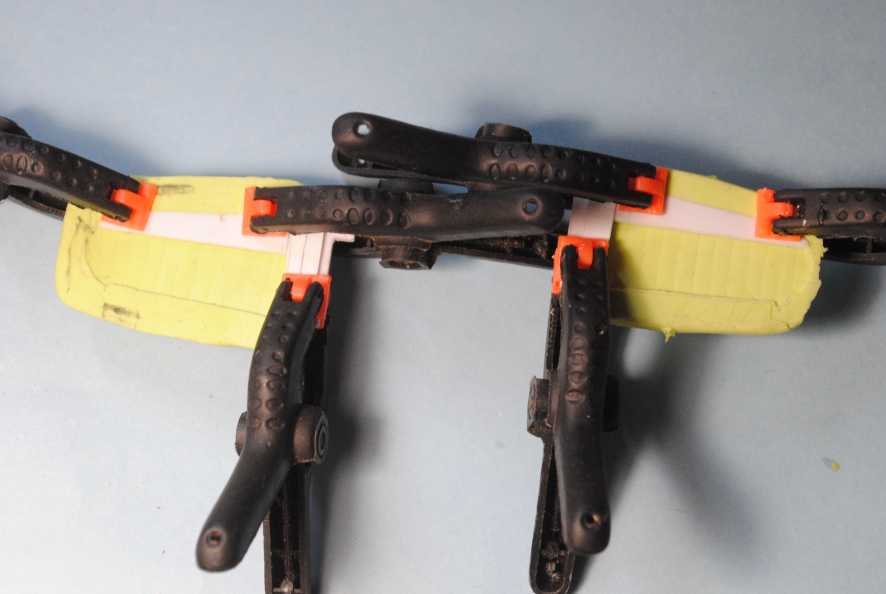
3- and I poured the PU resin directly into the mold thus formed.
As a result, the PU-polystyrene junction is perfect.
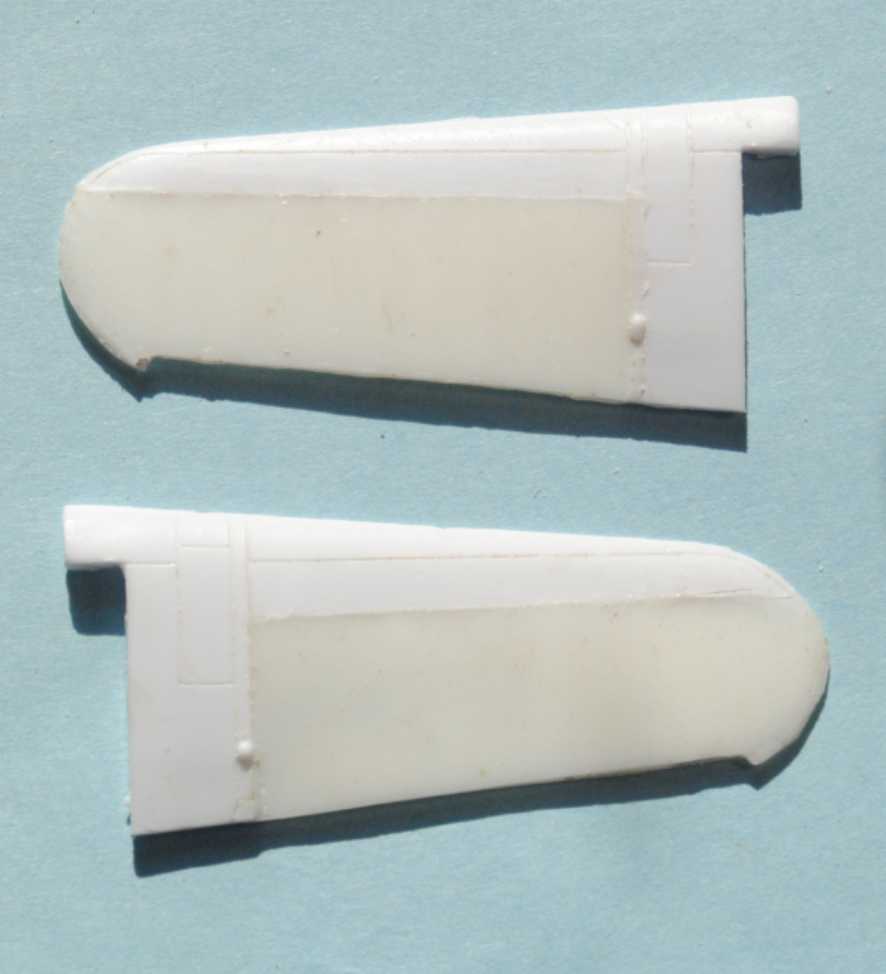
and here is the wing/fuselage junction
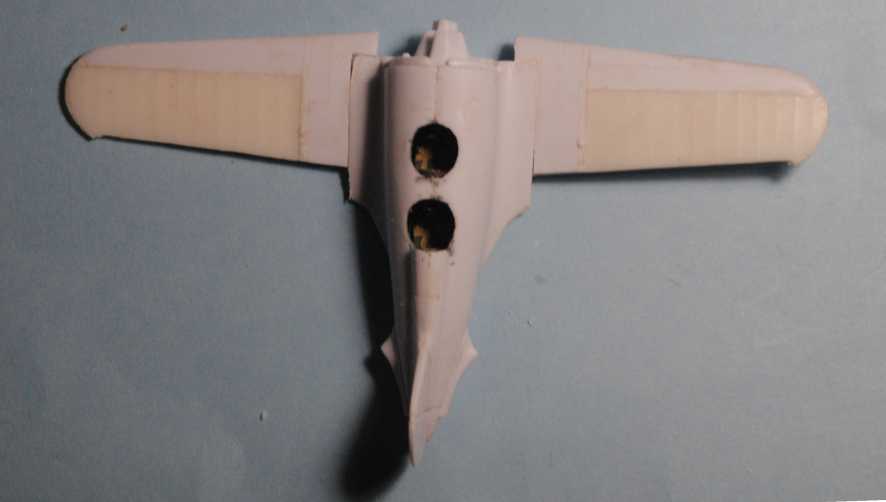 4-Engine
 As for Type 4, the M-22 engine, its front fairing and the propeller are obtained from an ICM I-5 kit.
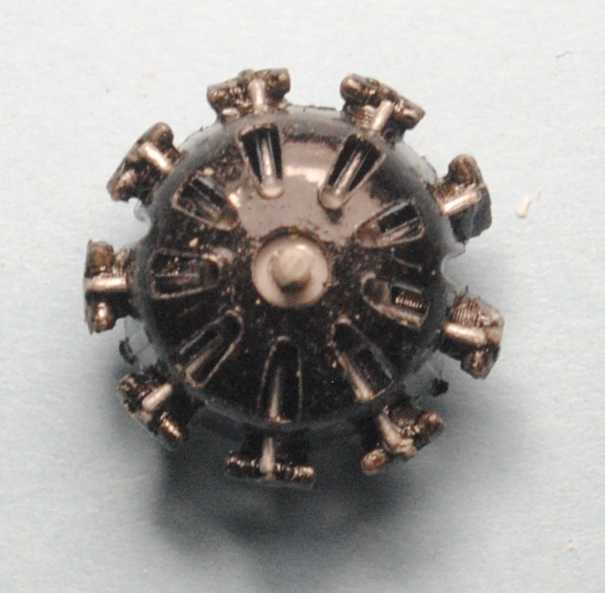 5- The NACA cowling
 To allow the junction cowling / wing, it is necessary to fill the space left by the cutting of the initial lower pannel
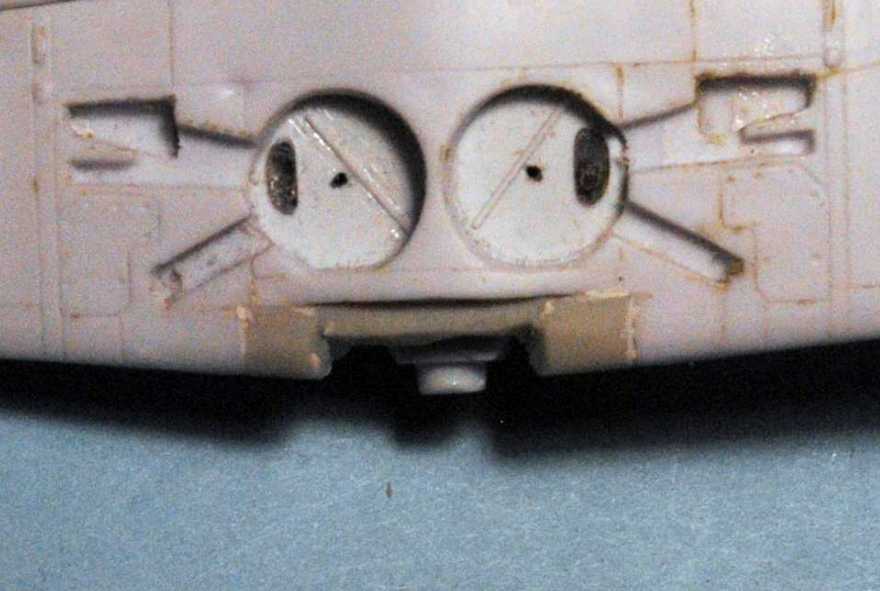
For the fuselage /cowling connection , it is necessary to extend the fuselage with a piece of PC
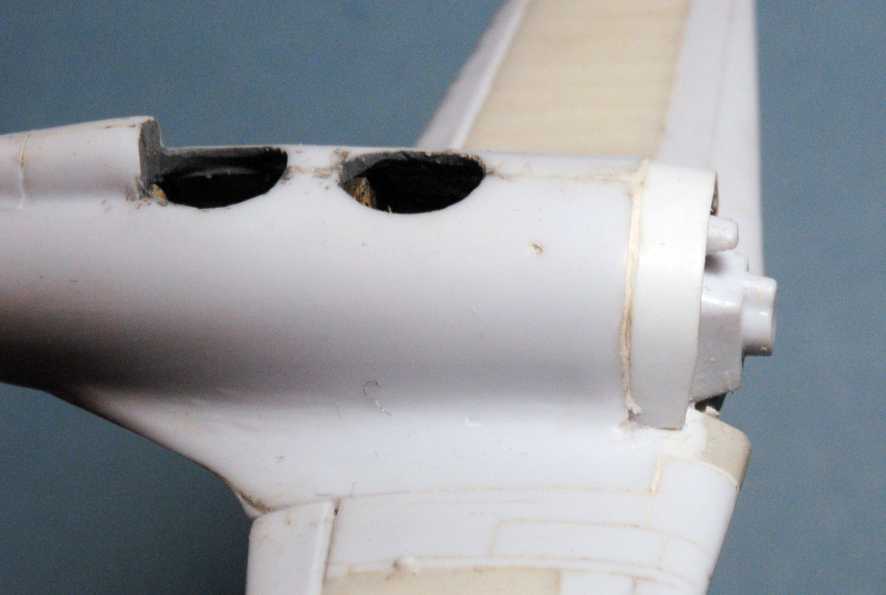
Here is the engine mounted.
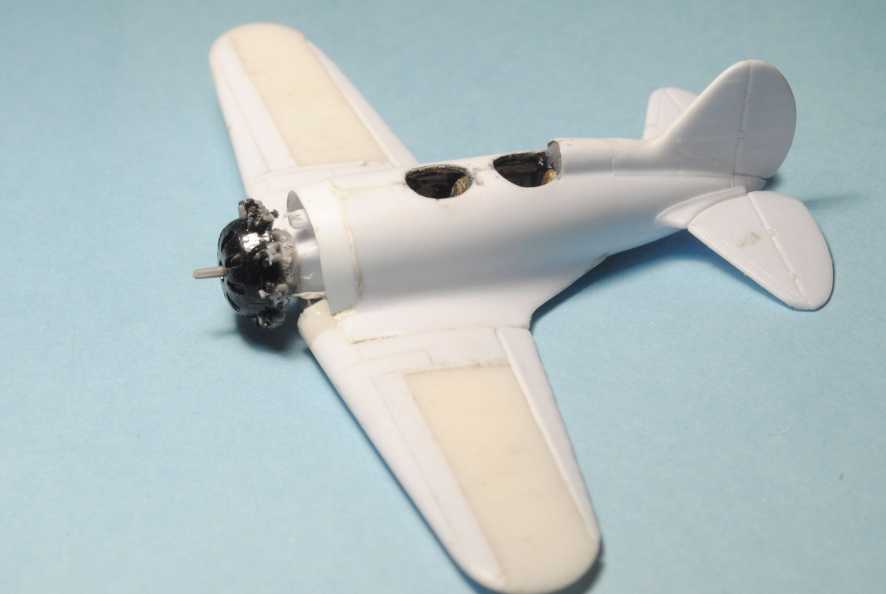 [ / url
To make the cowling , I turned the front plate of the kit to give it the right profile and built the rear part with PC
[url=https://servimg.com/view/19841204/283] 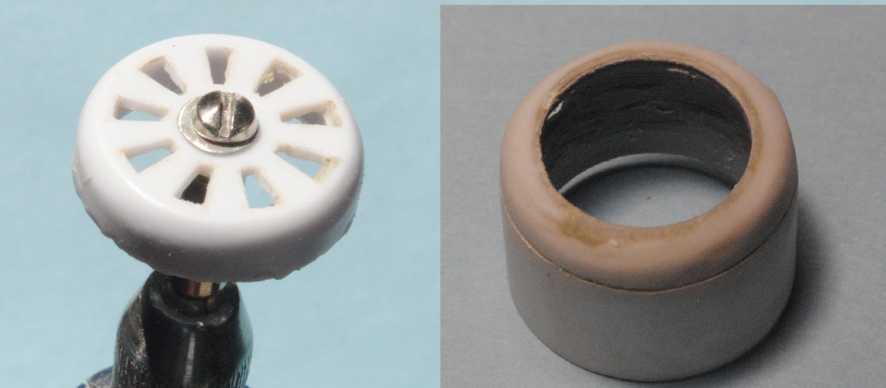
Here is the result waiting for painting and the rear windscreen
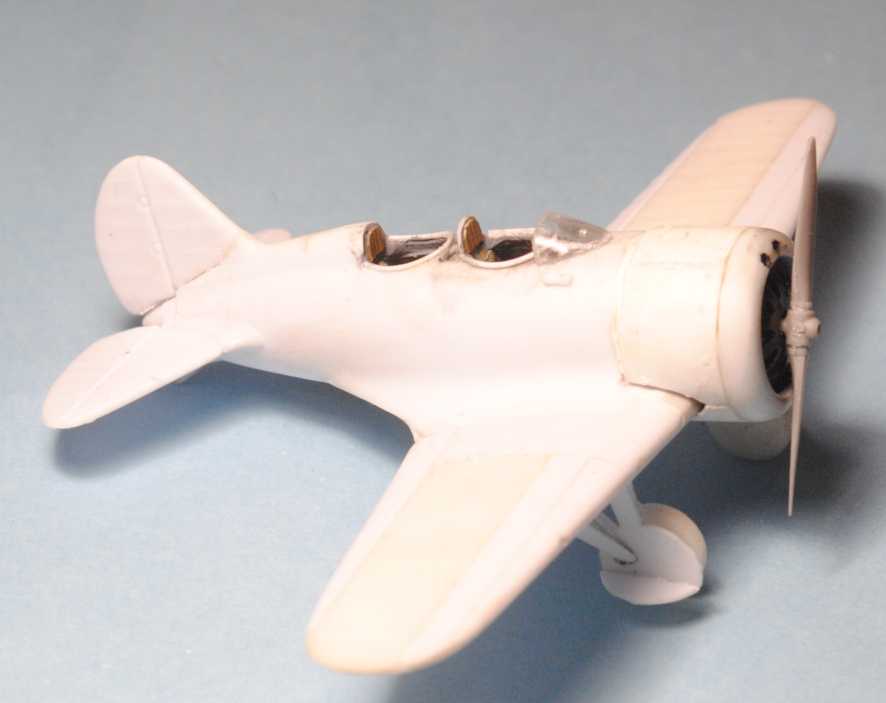
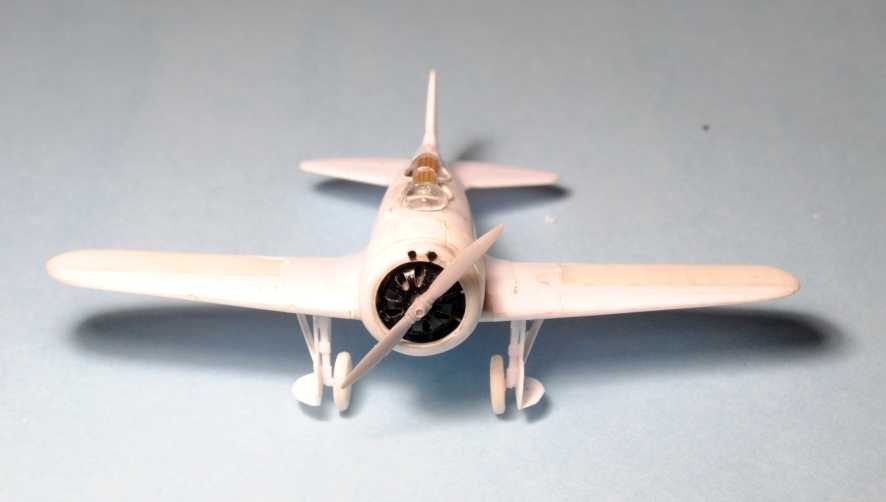 6- windscreen
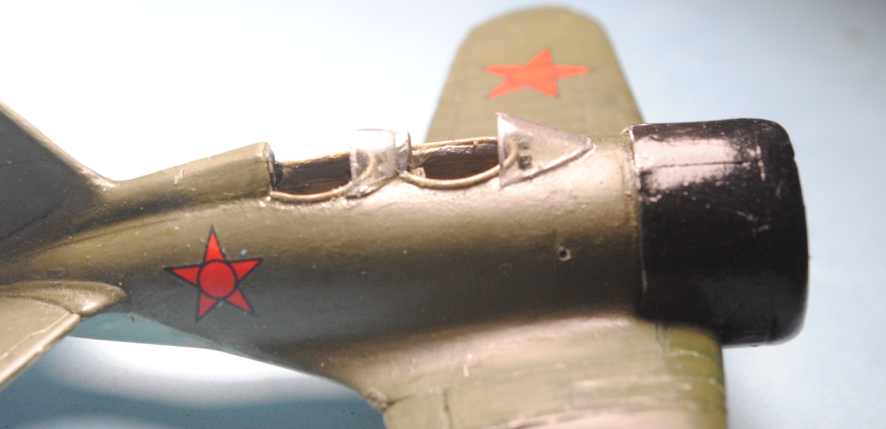
 The windscreen of the UTI-4 Amodel corresponds to a late UTI. That of the UTI-2 is a first UTI-4 were different ,
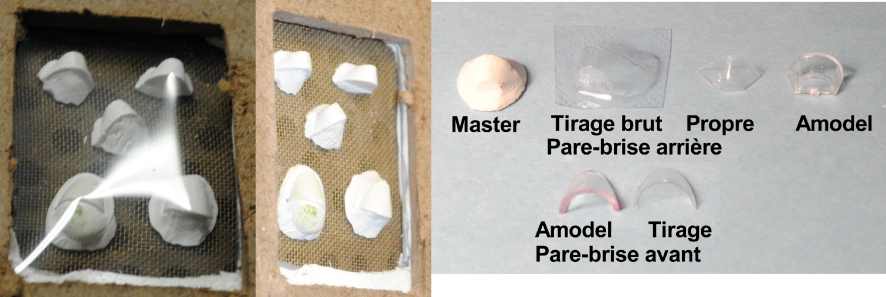
As I had to vacuform the rear , I also redid the front one, the Amodel piece being very thick.
Here are the steps of vacuforming and the result before
and after mounting.
 7- Headrest
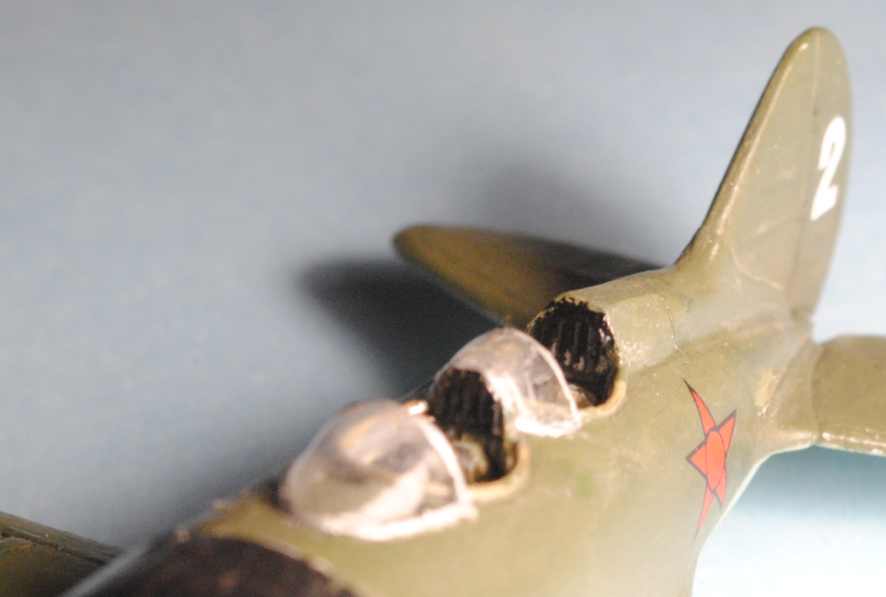
 The headrest and dorsal edge of the fuselage are angular on these early versions of UTI while the shape is rounded on later UTI, similar to I-16.

Here is the result
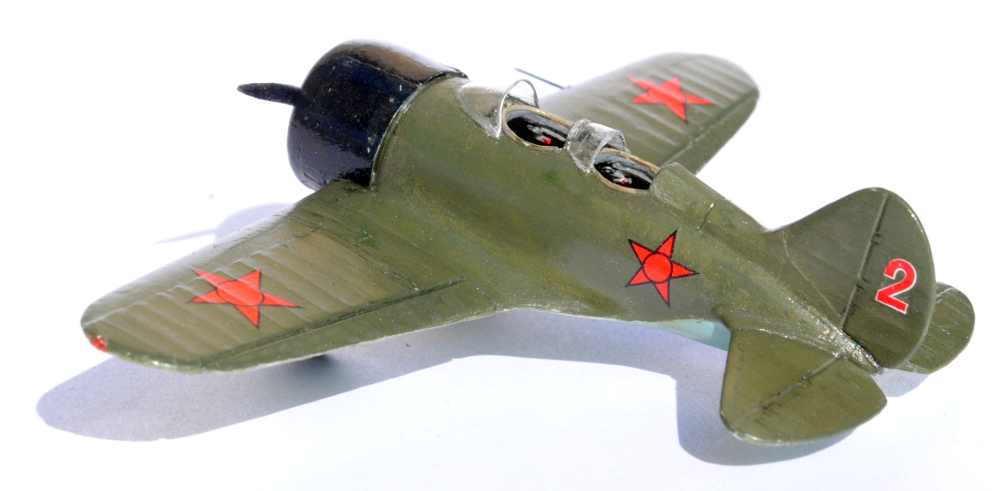
For painting, I used the standards of the era , so it's identical to Type 4 : black hcowling , "protective green" top (Humbrol 86) and light blue underside (Humbrol 65). Red stars with a black borders and circles were obtained from the I-5 kit used for the engine.
Finished



Regards
Bernard


