
|
Building report by Paul Beresteski by Massimo Tessitori |
|
|
Some time ago, I picked up Roden's (formerly known as Toko) 1/72 scale Lagg-3 kit. I forgot why exactly. Maybe it was the only 1/72 VVS plane in the shop. May I just wanted to punish myself for something. Either way, this was my first serious airplane project although I've made a few tanks.
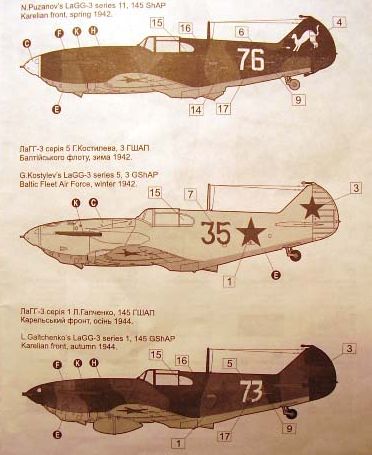
I wasn't too crazy about any of the variations in the paint instructions so I improvised and came up with my own. Being from St. Petersburg myself, I decided on a "fictional" Baltic Fleet Lake Ladoga defense plane with the usual green and gray camouflage, worn whitewash, removed canopy and landing gear fairings, and otherwise ragged appearance. I was going for an old horse sort of machine. The plane would have been flying against the Finns and patroling the Road of Life for years. By this logic, I decided to go with a loose representation of a very early version. It would share some of the characteristics of a number of the early series, such as having both the rudder weights, the cowlings and the original armamant. Also, to be honest, I just like the look of the plane with more guns.
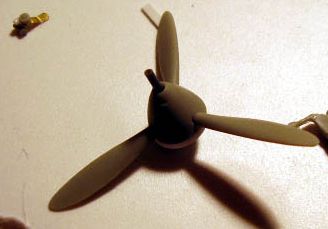
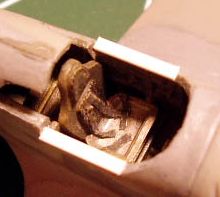
This is where things start to get ugly. I will admit that the casting does have some very nice, if not subtle, panel detail. Unfortunately mostly all the large parts have a good deal of flash. The detail inconsistencies also start up early. The nosecone you are told to use in the instructions is incorrect. Fortunately, the other nosecone is included along with a multitude of parts for all the models: later model rudder, wing parts, tail parts and so on. Again unfortunately the correct nose cone has the opening at the front for the cannon. The cannon is NOT in the kit so I had to make my own. The spinner also had to be shimmed. No site is included for the interior so I scratch-built a loose representation out of brass and styrene bits.
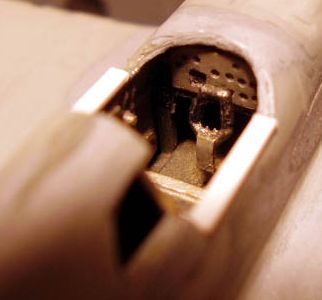
The cockpit is fairly simple but reasonable for 1/72 scale. Since I was leaving the canopy off and, therefore, building an open cockpit, I decided to add some scratch-built detail. There are decals for the dash but I made a simple bevel panel instead of the flat option and scratched some parts to make the stick. The seat looked alright but I decided to scratch build some seatbelts.
Note that I screwed up and painted the inside of the cockpit a metallic flat grey like the instructions said. The plane was made almost entirely out of wood. I suppose the interior could have been painted with metallic paint but i have my doubts. The interior took some hammering and cutting to fit into the fuselage due to the poor fit. The white strips on either side are there to replicate the canopy rails.
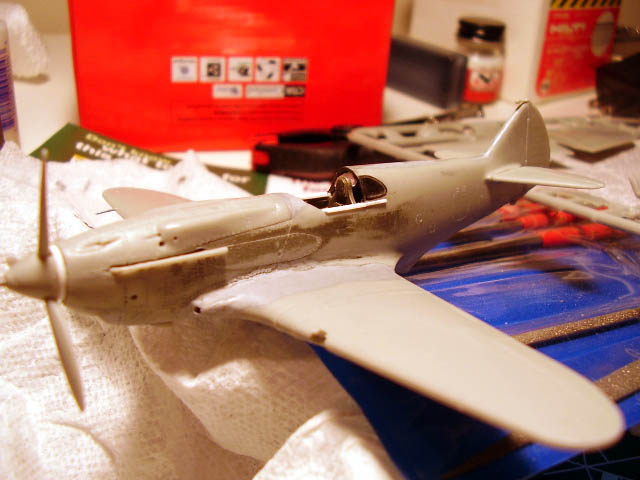
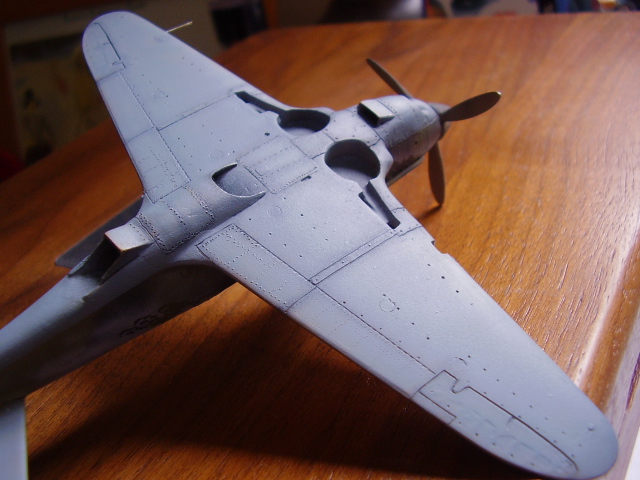
The fuselage halves weren't so great in their fit to each other either. Significant gaps and mis-matched shape. This took a lot of putty and sanding to make it look like a plane. The spine of the hood, the wing roots and most of the cowls had to be re-sculpted with putty. The rear part of the fuselage was also incorrectly shaped and needed to be trimmed to look appropriate for the versino I was going for. I suppose i can't blame Roden for this but in fixing things with putty, I covered up and sanded away all the detail. The rivets and panel lines had to be re-marked all around.
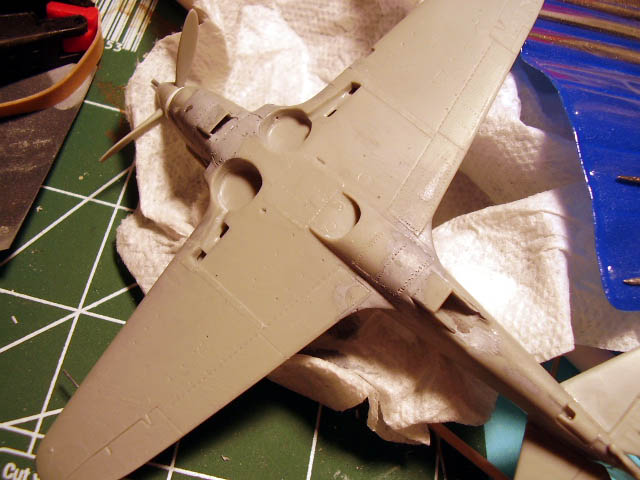
The rear windows looked out of proportion and the clear styrene bits for the glass were not curved to fit. These were reshaped and the "glass" made from scratch. The tail bits wasn't terrible but the alignment tabs were useless and had to be cut off. The kit's strut fairing was a little on the thick side (actually it was probably better armored than a tank) so I cut out replacement bits from sheet brass.
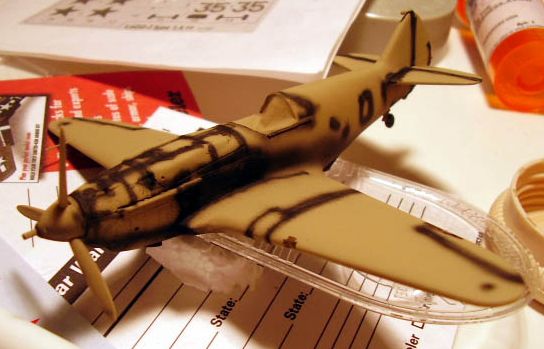
I started by base-coating the whole thing in beige and preshading the panel lines. I use acrlyics, mostly Valejo, but I think the preshading may have been done with ink.

The camouflage was applied freehand with an airbrush. Unfortunately, I got a bit carried away and completely blocked out all the preshading on top and sides. The bottom, however, still shows it and looks fairly nice.
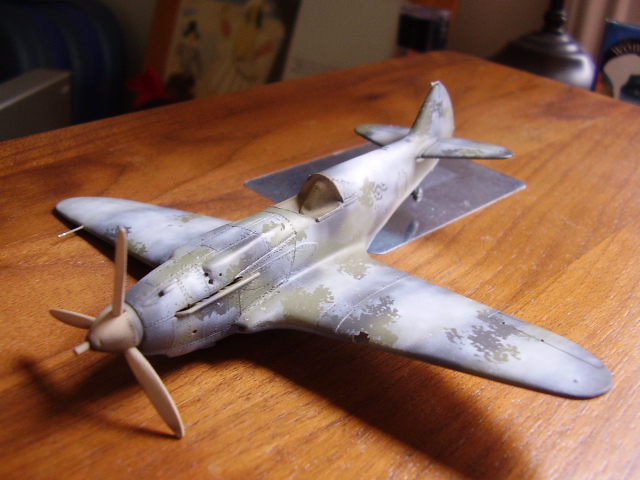
The "white-wash" went on in thin uneven layers over the base camo. The chipped look was achieved by stippling on masking solutions before the white went on and pulling it off with masking tape later on. The decals for markings and insignia didn't look bad at all but they looked too new for a plane in such a poor condition and all the numbers were for real aircraft. I cut some stencils out of masking tape and sprayed on the markings with a color I mixed up to look like a faded dirty red. The plane was further weathered with a wash of sepia ink and some minor brush work.
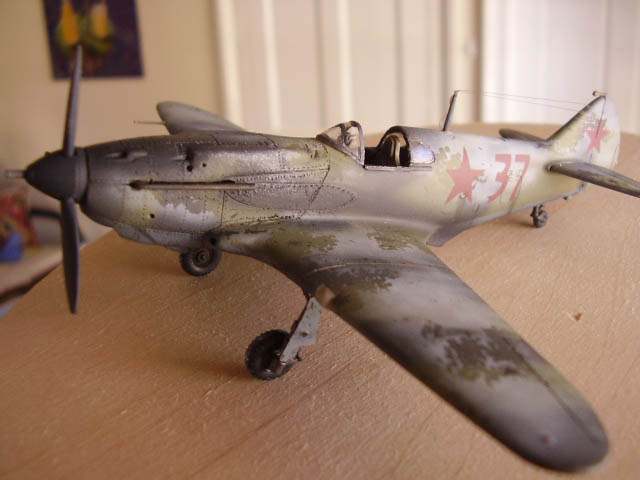
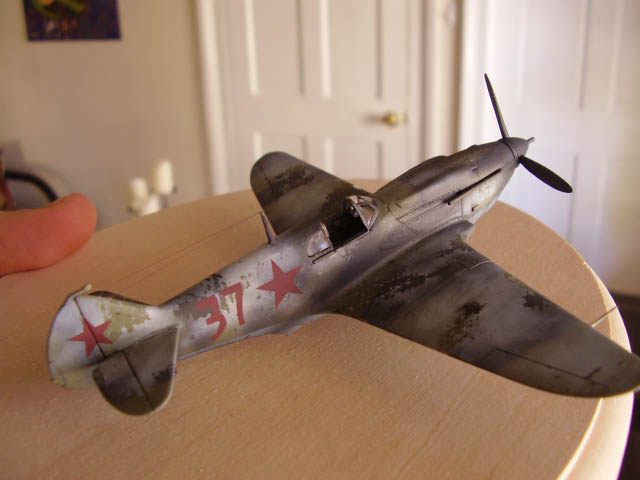 After attaching the canopy, landing gear and
antenna parts (I guess this guy was lucky enough to have a radio) and applying
some final paint details, the LaGG is finally done. I'd like to think that,
considering that this is my first serious plane build and the quality of
the kit, it came out fairly well.
After attaching the canopy, landing gear and
antenna parts (I guess this guy was lucky enough to have a radio) and applying
some final paint details, the LaGG is finally done. I'd like to think that,
considering that this is my first serious plane build and the quality of
the kit, it came out fairly well.
|
|