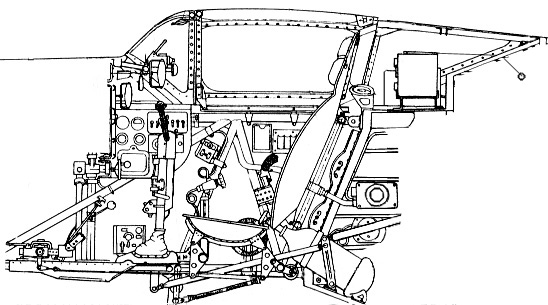
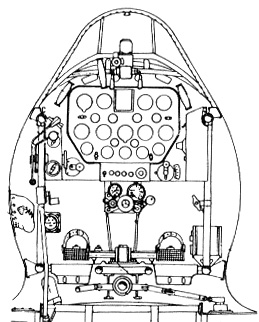
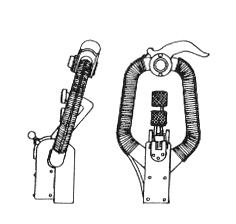
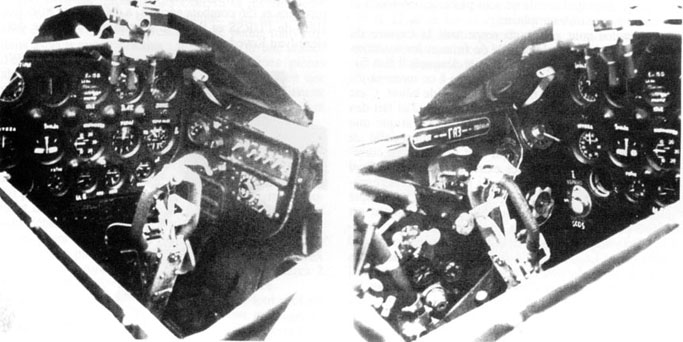
The drawings show many details that one can rebuild (pipes and valves under the cockpit, oxygen bottles, 3 armament levers on the instrument panel ), but the only one indispensable to scratchbuild is the gunsight and, of course, the seat belts.
|
|
Because of the necessity to enlarge the rear fuselage and scratchbuild the
new upper rear wall, I have preferred to install the internal cockpit structures
from below, after having glued and thickened the half-fuselages. The rear wall
below was introduced, positioned and glued before the other details, after many
dry tests inserting the other structures. This gave a better rigidity to the
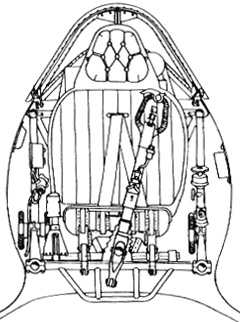
fuselage. I had to shorten the seat back more than 1 mm to fit the canopy.
|
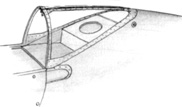
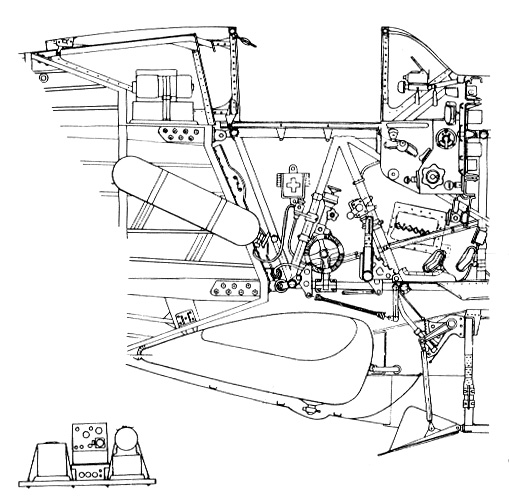
With a good observation of the drawings, however, we see that there should
not be a wall behind the seat, and the internal structure and a pair of
bottles should be slightly visible. The floor under the seat should be absent,
too, and the seat itself should be fixed on some rectangular struts; the
floor should remain only forward of the seat.
The drawings show many details that one can rebuild (pipes and valves under the cockpit, oxygen bottles, 3 armament levers on the instrument panel ), but the only one indispensable to scratchbuild is the gunsight and, of course, the seat belts. |
 |
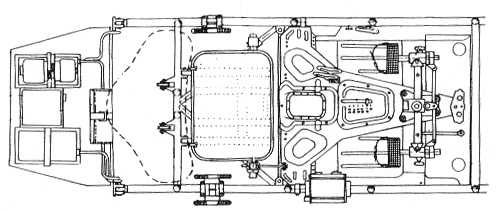
The radio boxes were not always installed; they were surely absent on
aircraft without the radio mast, and even in some aircraft with radio mast
installed. If the radio boxes are absent, the plate under their site should be flat, without particular details. Note the hole, clearly visible on many photos.
|
| This photo shows the painted interior; control column and gunsight are
scratchbuilt; the gunsight glass is still lacking. Later the canopy was installed; the gaps were closed with vynil glue, and then painted. 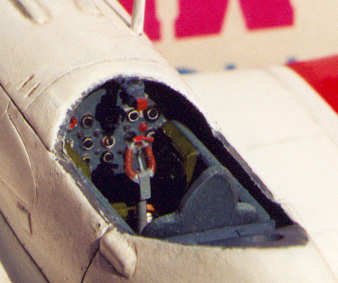 |
The inner details should be painted with blue grey, wood use aerolak FS26320,
with black quadrants. Another possible color for interior is light blue-green metal primier.  The instrument panel is usually light, but I don't exclude that some examples could have it painted black.
|
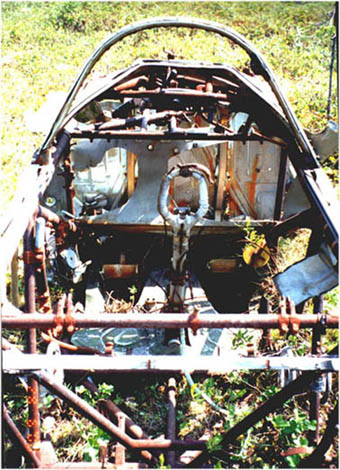 |
This photo of a relic is not useful for modelers, but it is interesting
all the same. Here's address for the "wreck" site http://www.sampo.ru/~aviascan/ and direct link to MiG page: http://www.sampo.ru/~aviascan/mig3.htm |
|
|
|