I finally finished this one and have included some in progress shots. This was the first 1/72 scale model I have built since the 70's so it was interesting to see how much has changed since back then.
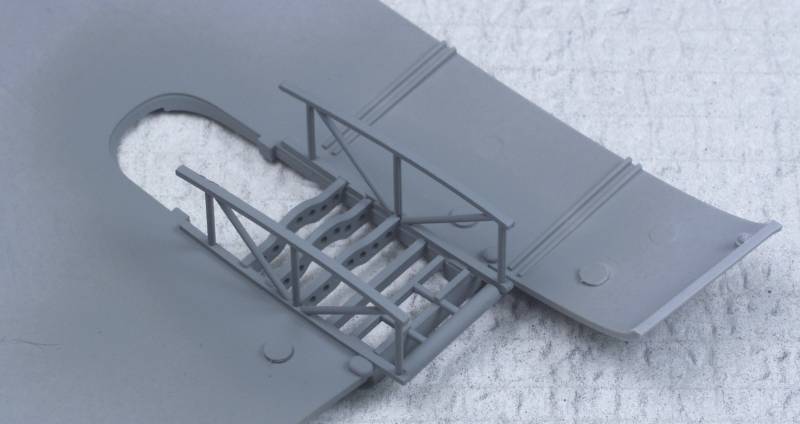
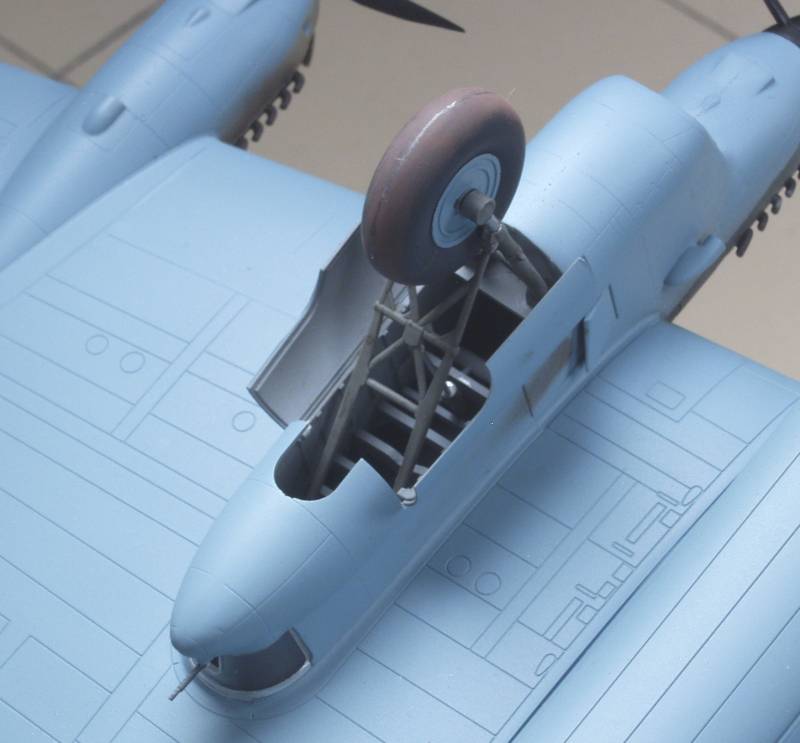
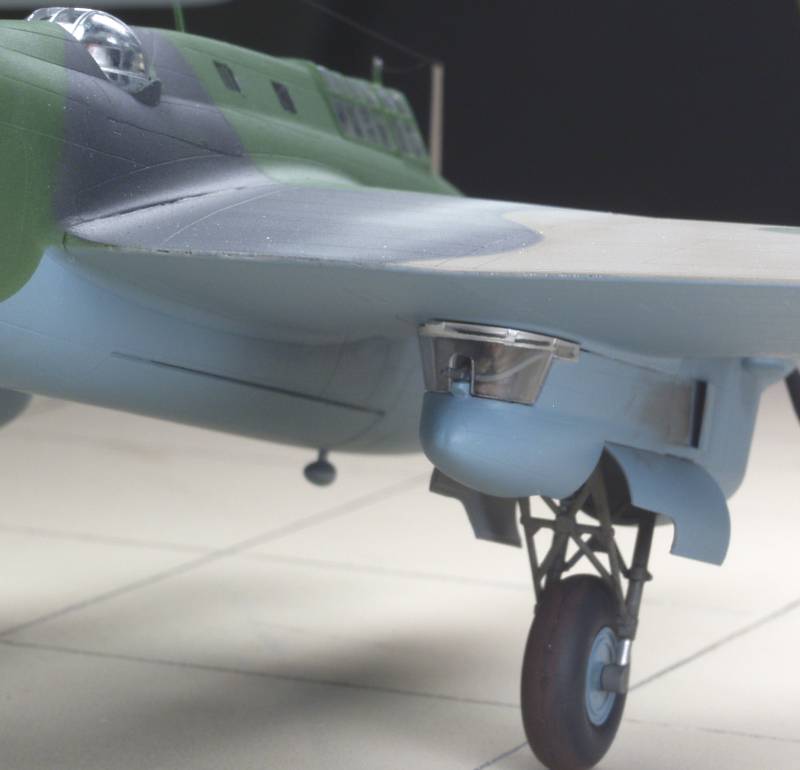
For one thing the detail level is a lot better as can be seen here with the detail in the gear bay area. The rib sections actually supply some strength to the assembly.
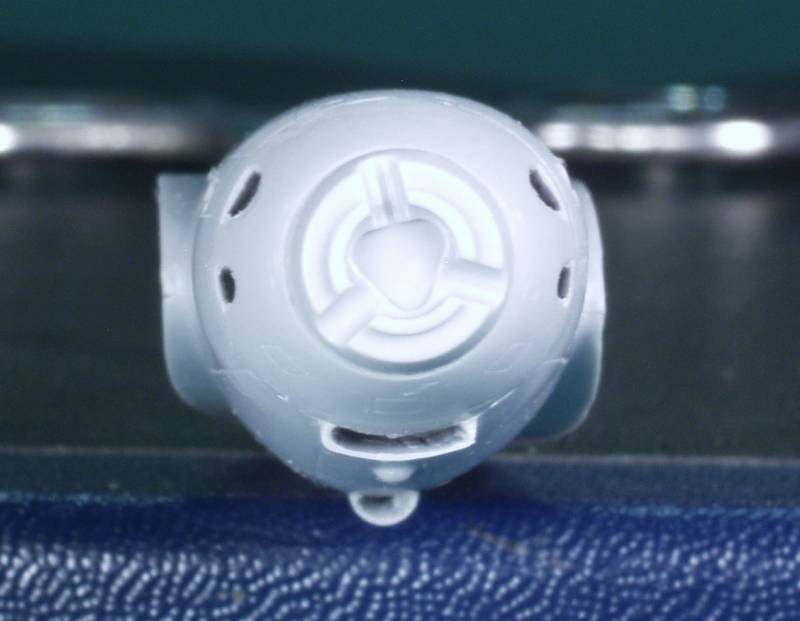
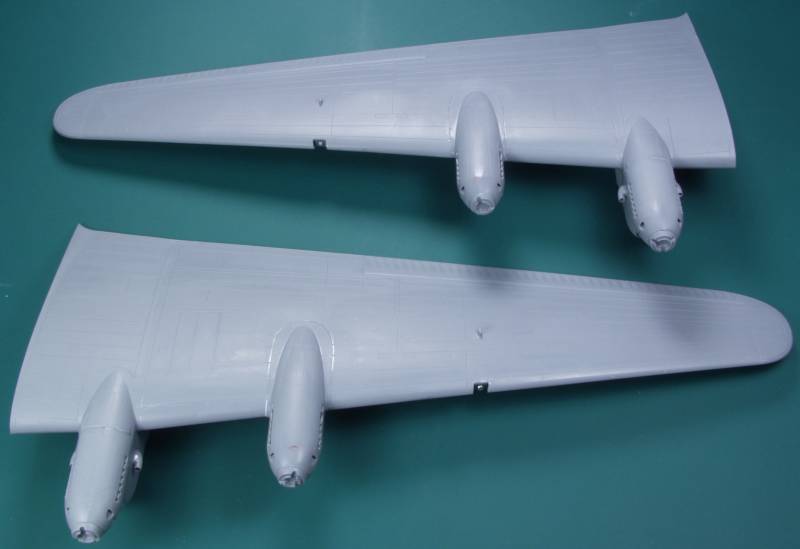
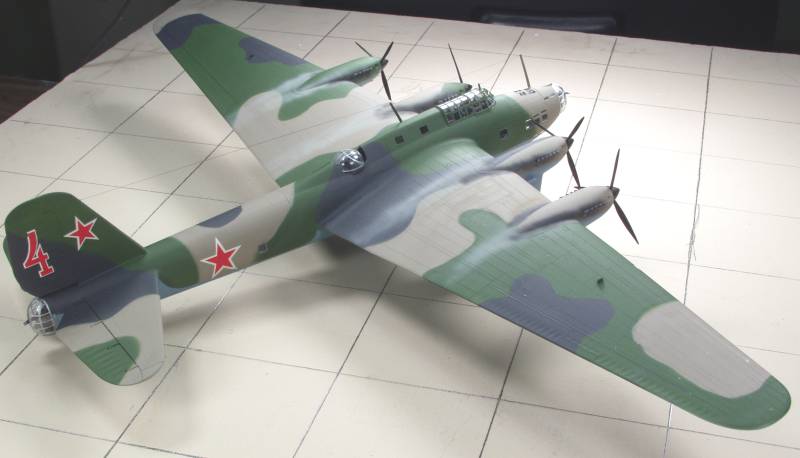
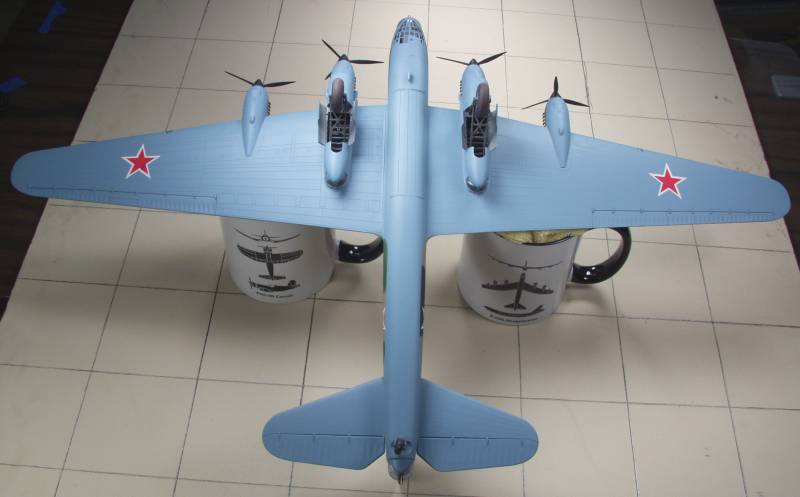
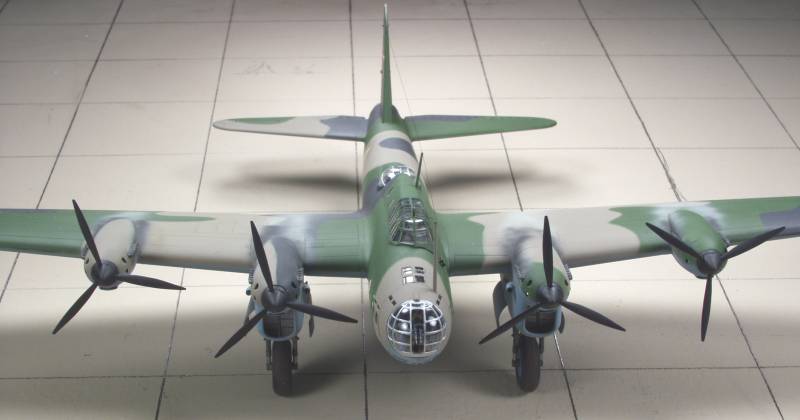
When I assembled the engine nacelles I decided to open up all the intakes as the kit had them blanked off. This was done by drilling then carving and filing as required.
The fit of the wing parts was good for the most part with little filler required.
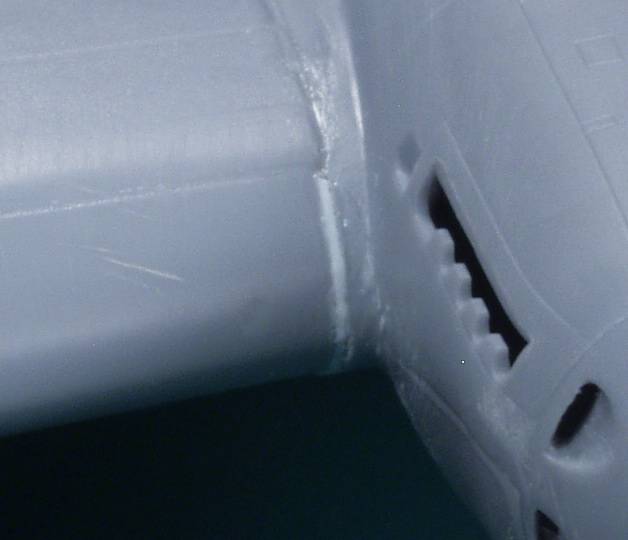
The worst spot was a gap at the end of the leading edge next to one nacelle. It was just slightly narrower than the thinnest styrene I had so I ran a razor saw into it then filled it with styrene and trimmed it to fit.
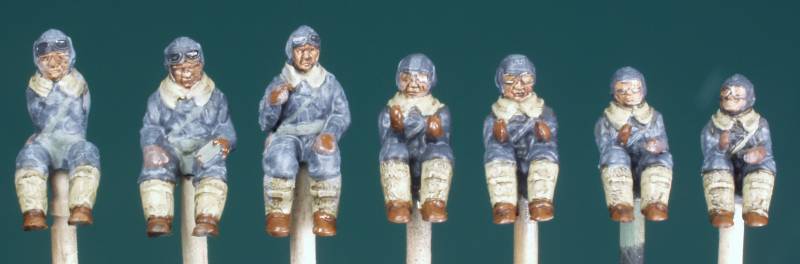
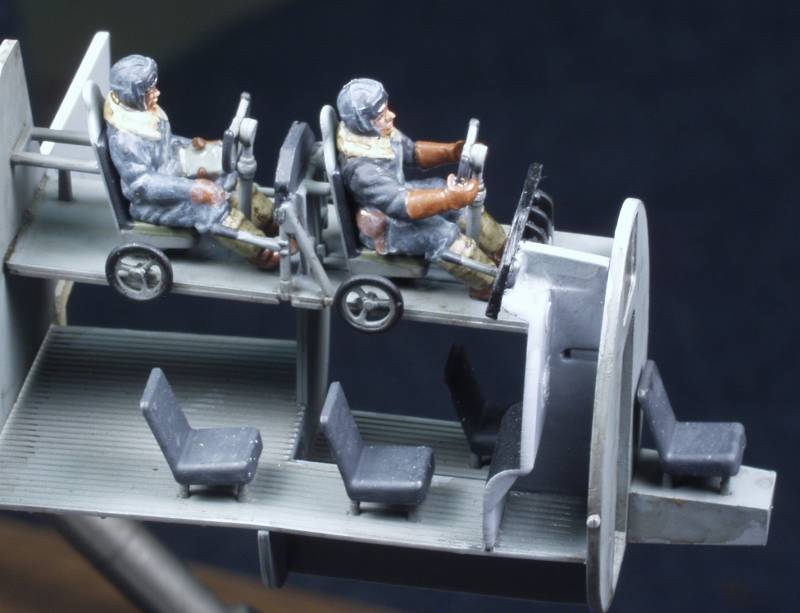
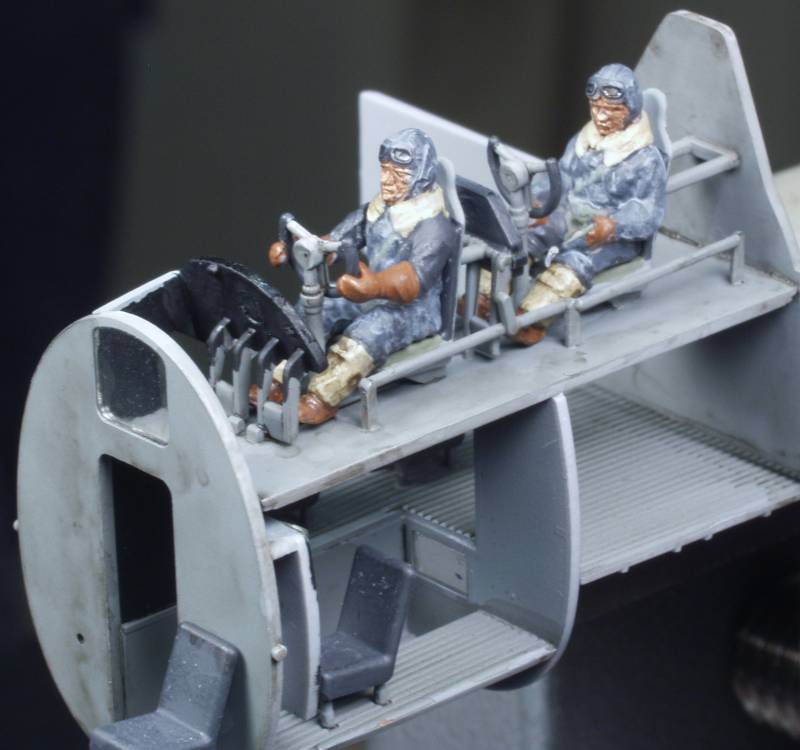
I wanted to use the supplied figures and I needed to get them done for the interior. I spent way too much time proving that I?m no good at painting figures. Interesting to note they apparently selected the crew members by stature. The smallest ones being the nacelle gunners, the next ones up are the front and rear turret gunners, followed by the top turret gunner and the pilot and copilot being the largest. The pilot gets arms once installed in his seat. Note that I started out with their suit color being black and subsequent washes to bring out detail lightened the color considerably. The photos make the color look blue but in person it's more of a dark gray.
The turrets were built up and contained as many parts as most 1/48 turrets do. The guns are either loose or will be installed later.
Top turret...

Front and rear turrets...

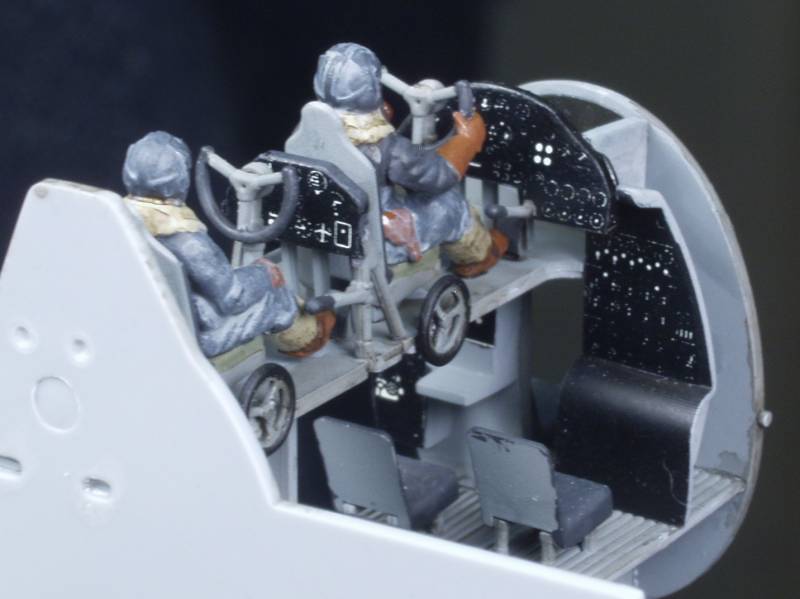
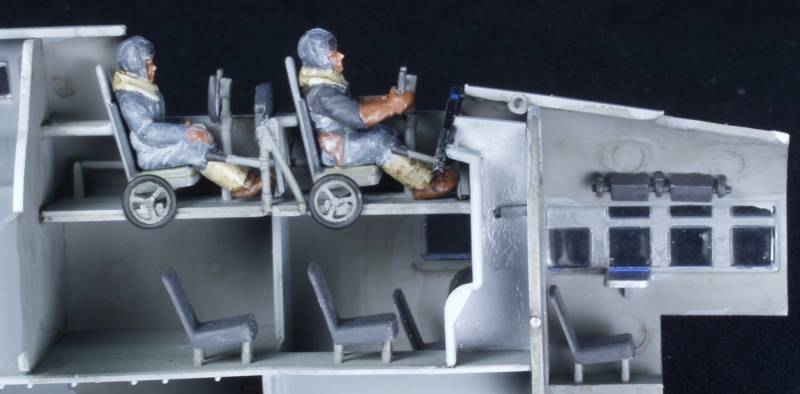
Forward fuselage shots...

Fuselage together...
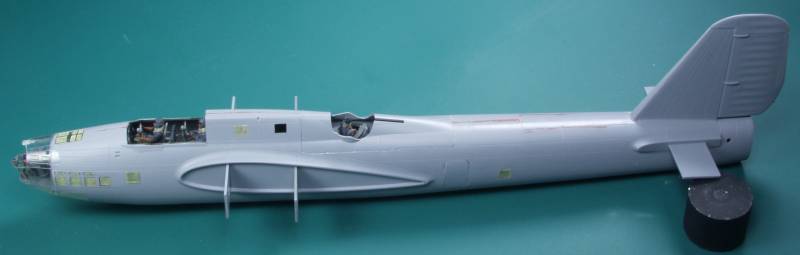
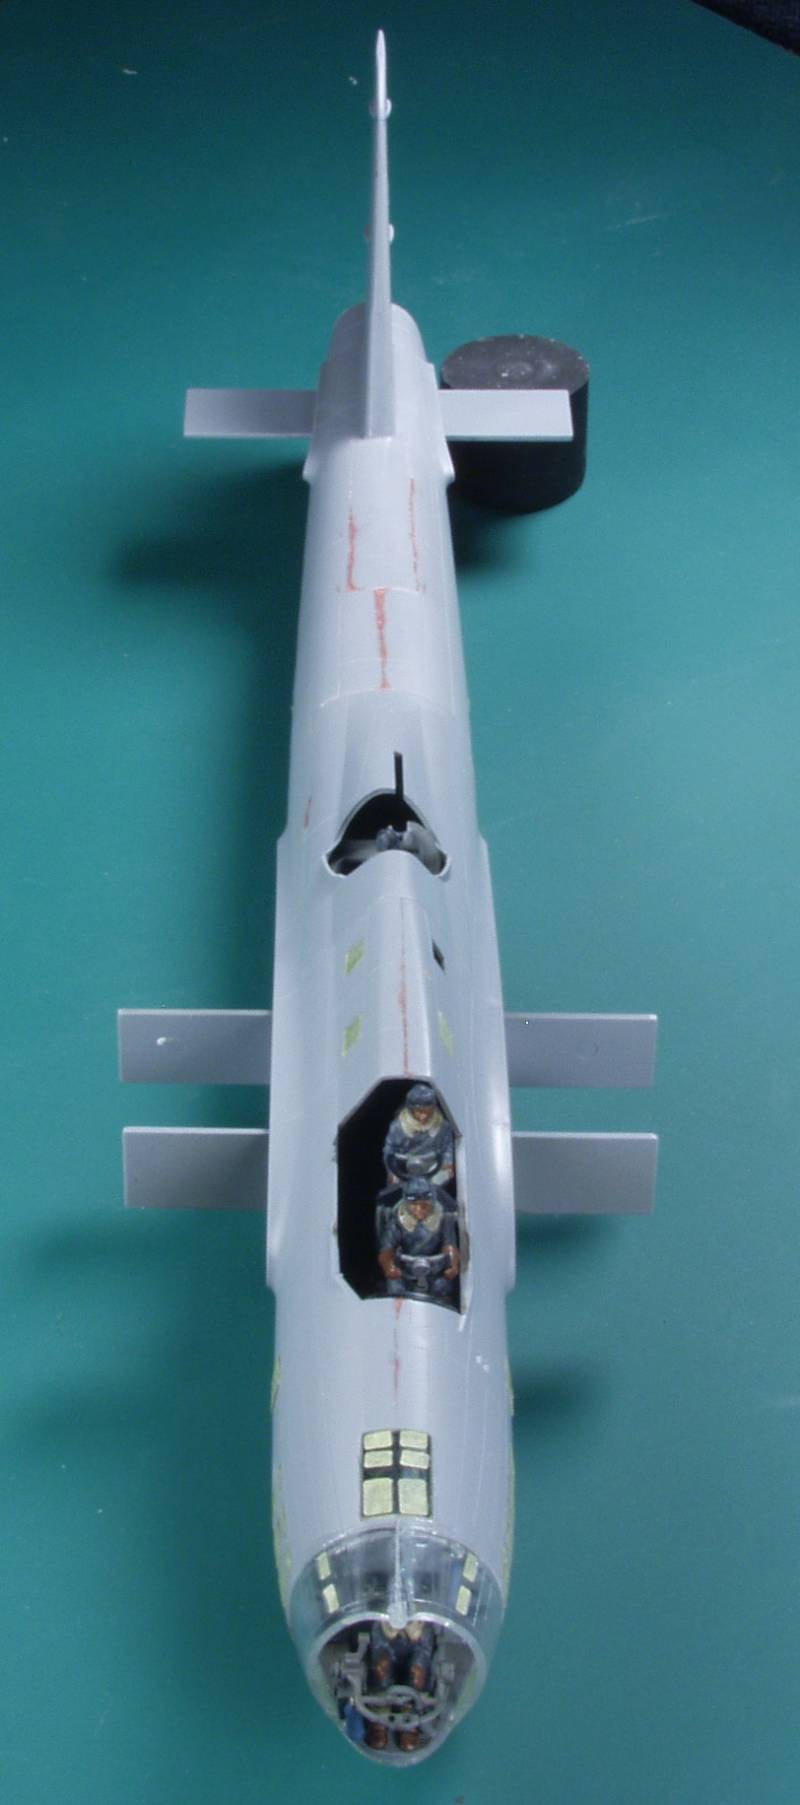
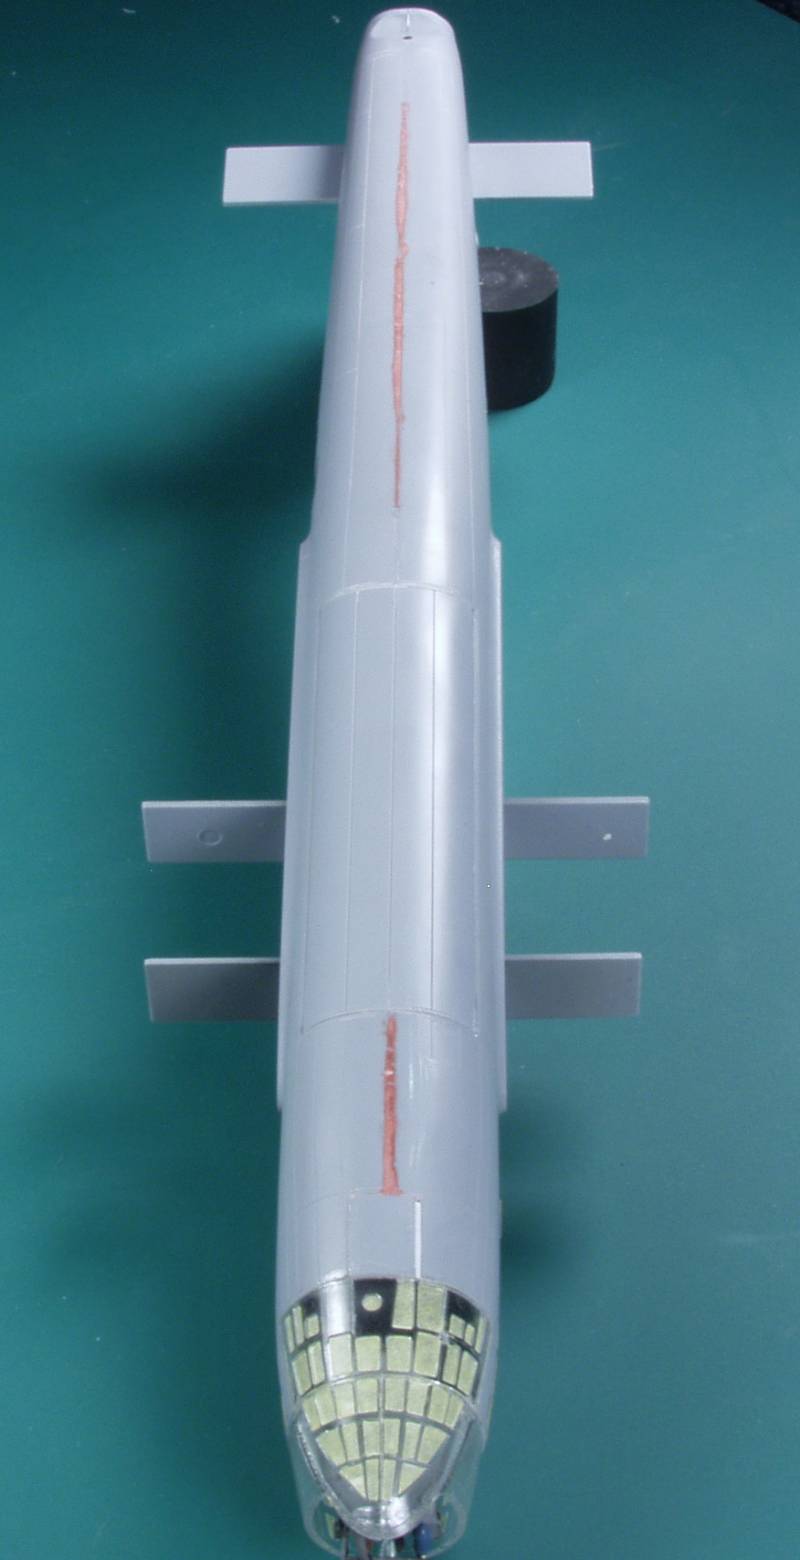
Note that most of the filler used on the bottom was due to a step caused by lack of attention on my part, the fuselage actually fit quite well as did the various inserts. The bulkhead that also forms the rear wing spar will only fit one way and this is not really obvious unless you put it in wrong.

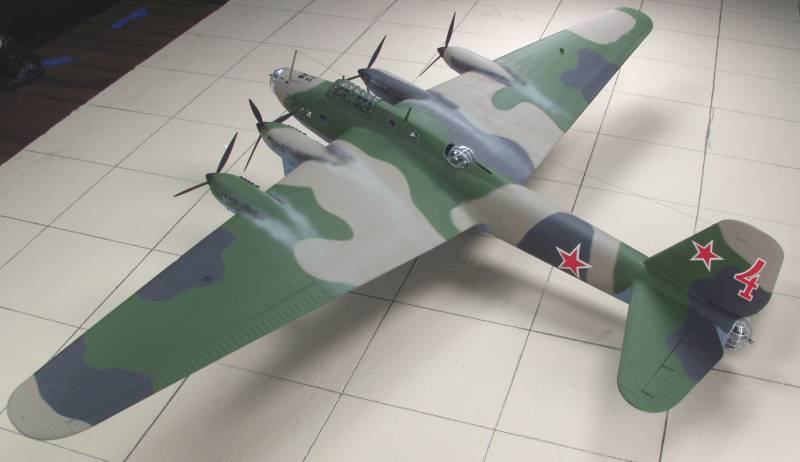
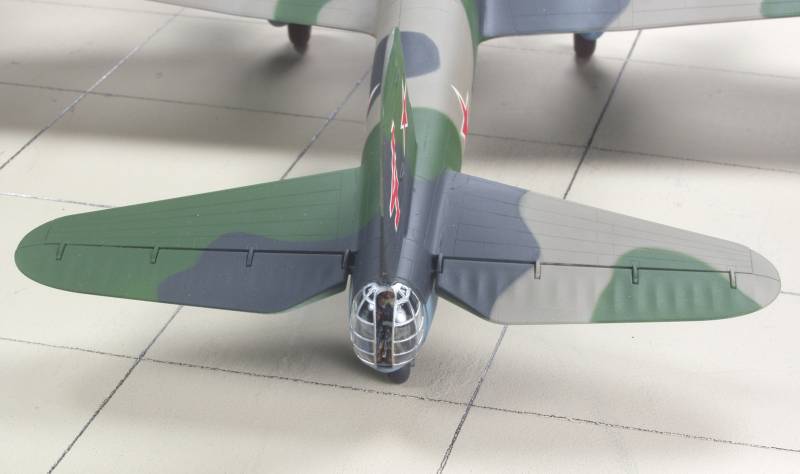
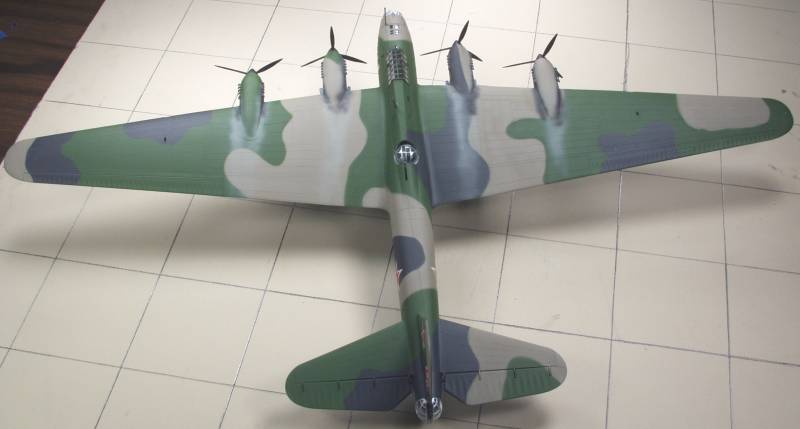
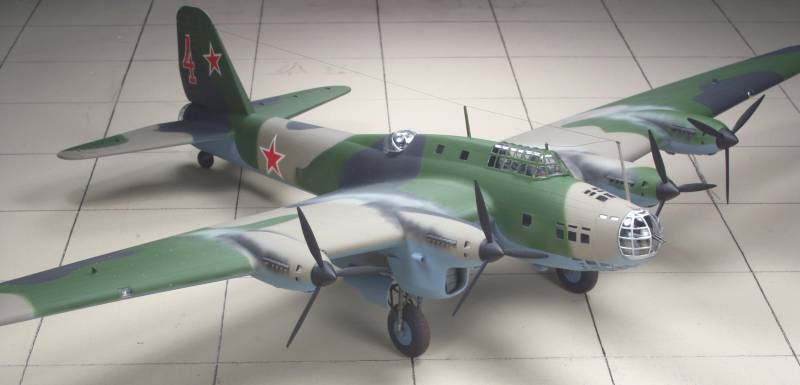
Here it is with the wings and tail installed and the primary colors on. I fretted over the color scheme but in the end went with the kit instructions as the scheme pretty well matched one published on this site. My only stumbling point was that the instructions indicated the aircraft represented a specific squadron in February of 1943 which would have been too early for the tricolor upper scheme. In the end I decided the kit was after made in the Soviet Union and if they couldn't get right, what chance did I have ?

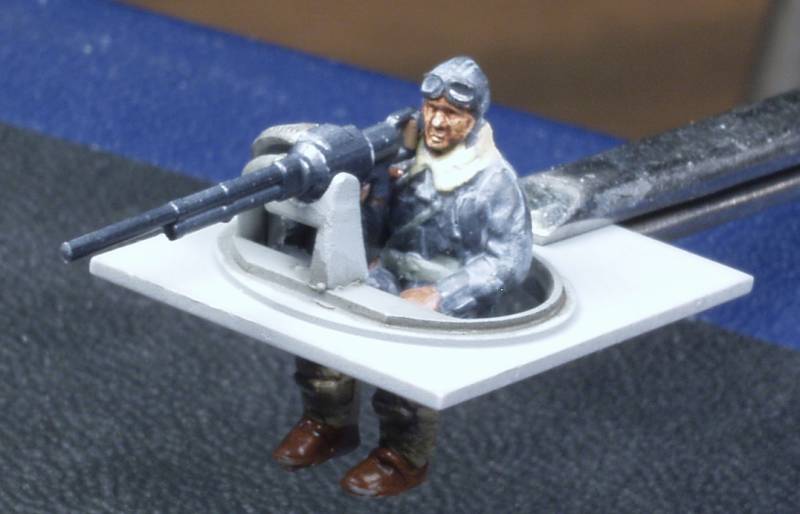
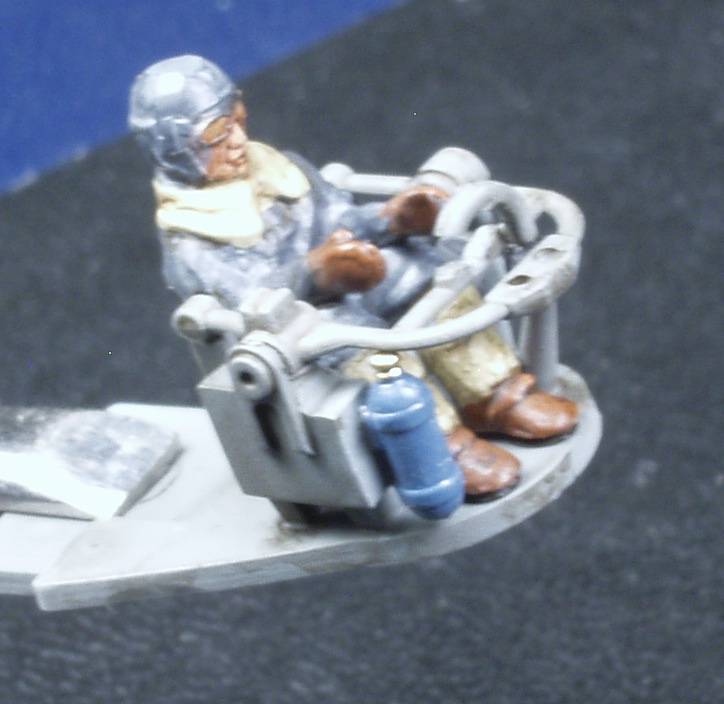
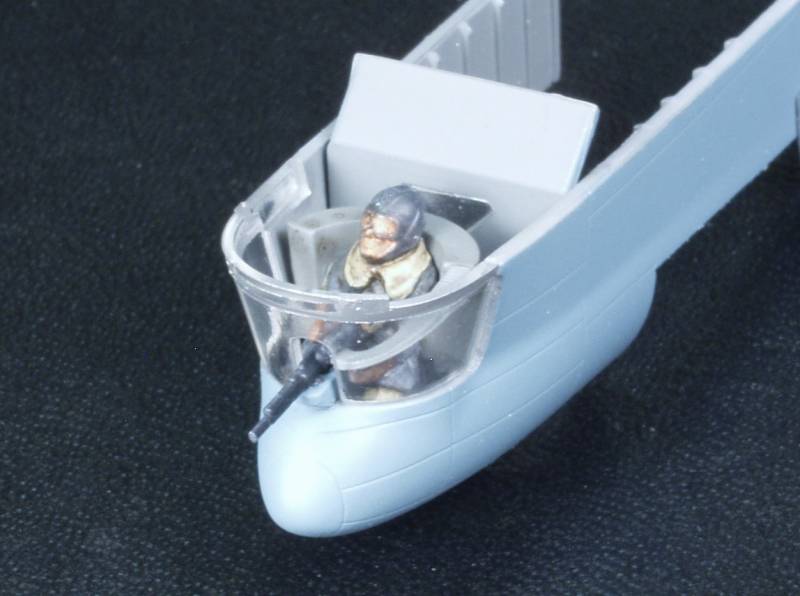
It was difficult to get a photo of the under wing gunners station which I left off till after all the finishing was done so I did take a photo of it before installing
I decided to go with less is more route on weathering. I feel panel lines are way over rated and stated in 1/72 and although they probably don't show up that well in photos they are prominent enough in person that no highlighting is necessary. I ended just doing some exhaust staining on the wings, a little grimy discharge from the radiator outlets, some dirty wash on the gear struts and soil on the tires. I do wish that I would have used a final over spray of a very heavily thinned light gray to fade the colors out a bit but by the time I came to that conclusion I had already unmasked and it was too late.

A few final comments;
Over all I enjoyed the kit, fit was good, level of detail was good for the scale. It was a good reminder of why I prefer larger scales.

The decals left a lot to be desired, the stars were no well registered and a couple of them cracked while still on the sheet. The sheet includes about 40 stencils, most on the bottom and after struggling with one, I decided to skip the rest.
The clear parts were different than any I have encountered. The material was soft, not brittle as most are and future would not stick to them. It would run off the flat areas and puddle along the frame. I tried multiple cleanings to no avail, even using alcohol. It did respond to solvent weld glue so I didn't try anything stronger than alcohol. I had a couple of the small window come loose during the finishing process and I suspect it was due to them not adhering well with clear plastic cement. Solvent based paint adhered well and I had no problems when unmasking. If you use acrylic paint I would recommend priming first with a solvent based primer.
Thanks for looking and as usual all comment and criticisms are welcome.


