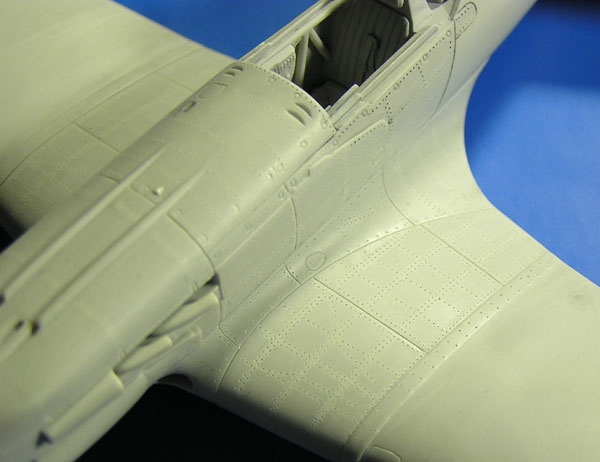
In particular, the flaps line had to be scribed.
Riveting is a must for me.
The recesses of synchronized guns were drilled.
|
kit building and detailing model and photos of Honza Jezl |
|
|
|
|
|
Some panel lines were improved by tool.
In particular, the flaps line had to be scribed. Riveting is a must for me. The recesses of synchronized guns were drilled.
|
 |
 |
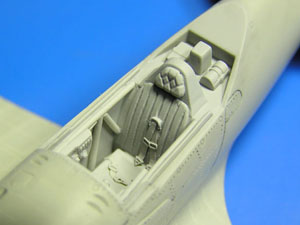
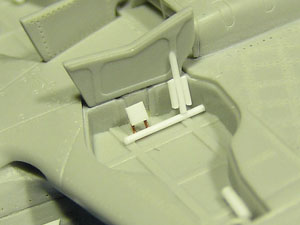
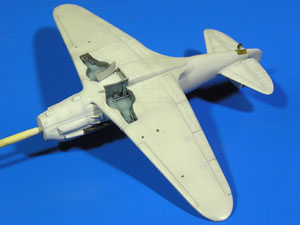
On the left: the cockpit was improved by struts, instrument panel, photoetched
seat belts.
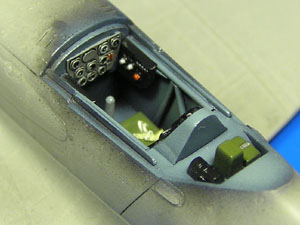
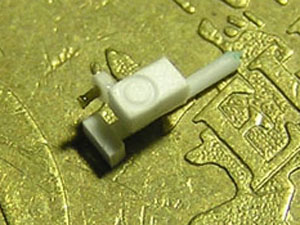
Below, left: the same after painting, washing, drybrush and some additional details. Note also added thickness behind canopy. Below: the scratchbuilt gunsight lies on a 2 Euros coin. |
 |
 |
 |
 |
 |
 |
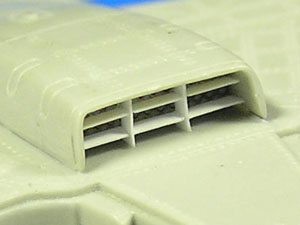
| Flaps in the main intake were added; a net behind them simulates the cooler. | The navigation light on the rudder was added. It has to remail clear. | This reflector is made by perfectly clear epoxy resin; those bubbles are not visible at eye. |
 |
 |
 |
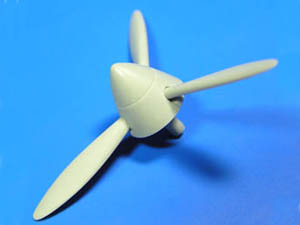
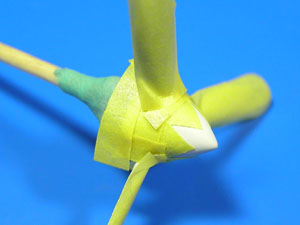
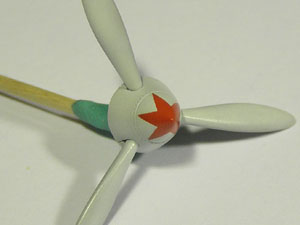
| Here is the original propeller; its spinner is a bit too ogival.
|
The same after a partial correction; it has to be made more conical
in front of the division line.
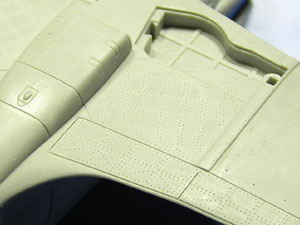
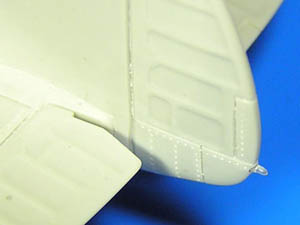
The panels and riveting were rescribed.
|
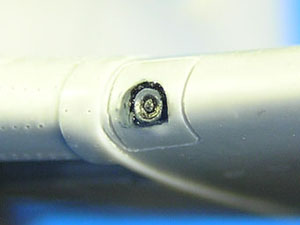
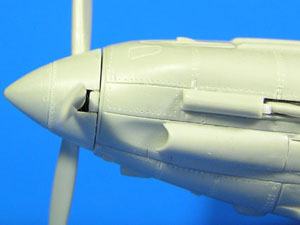
This image of the exhaut stacks shows one added piece of pipe behind
the front cover. All pipes were drilled. The triangular plates of the oil
cooler outet flap were replaced by thin plasticard.
One should glue thin stripes of paper or plasticard above and below the slot of exhaust stacks too. |
 |
 |
 |
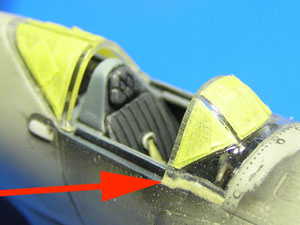
| The front part of canopy had very bad fit - there remained huge gaps
along its sides. The filler is only in the gaps - just to notice, how huge
they were.
The masking of the windshield has a small error: the pair of lines on it should not be metallic frames to paint, but glued junctions of transparent panels to leave unpainted. |
There were some gaps after gluing inner wheel wells covers in place.
They were filled with epoxy putty as well.
Some basic detail were added to the wheel well.
|
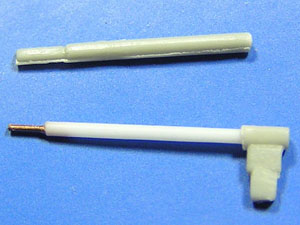
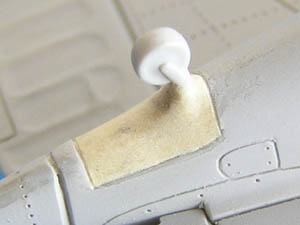
The original pitot tube suffered from bad molding, so I better made
a new one.
This type is only for slats-equipped wings; unslatted wings had the pitot probe on the leading edge.
|
 |
 |
|
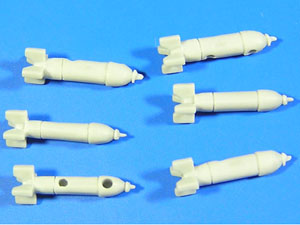
| The rockets also were not molded correctly; the upper part was moved a bit to the lower side, so there were some steps on both sides. It took me about two hours to get them to this point and it is still not perfect (the small wings have a wrong shape and are too thick), but I can live with that. | After airbrushing whole kit with Gunze surface, I found out that I
forgot to remove the rear wheel well doors and create the leather cover
instead. Well, even the kit was already prepared for painting, I had to
correct this.
|
 |
 |
 |
| The plane choosen for the painting was "black 36".I've supposed that
the green panel shown on photos was on the right side only.
Click the small profile to go to the page on this plane. |
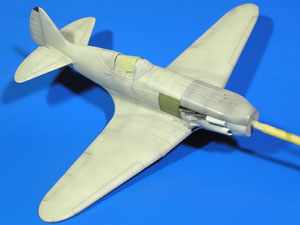
The model was mounted on a support for painting.
. |
|
 |
 |
 |
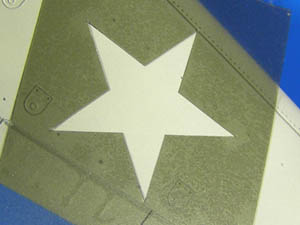
| I cut masks for all stars from rest of the masking sheet.
To mask this took me more than 30 minutes. |
This mask was made by Tamiya masking tape
|
And here we have 7th star :-)
|
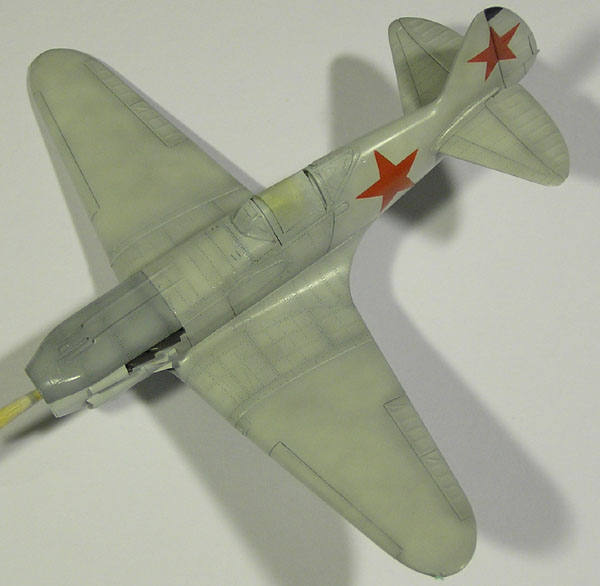
| This time I took the picture on a white background to show the irregular
paint cover, which was not noticeable on other pictures. Panel and rivet
lines were put in evidence by darker shades.
The black number 36 has still to be put on; it was painted on a piece of trasparent decals film. To see the photos of the completed model, click on the link below. |
 |
|
|
|
|